Setup Single-Sign On for dab Nexus On-Premise
To use Single-Sign On it must be activated in your License.
Instead of logging in to dab Nexus with your Mail-Address and Password you can connect an existing Single Sign-On (SSO) Solution such as Microsoft Entra ID (formerly Azure Active Directory) or Active Directory Federation Services.
Configure SSO with Microsoft Entra ID (formerly Azure AD)
-
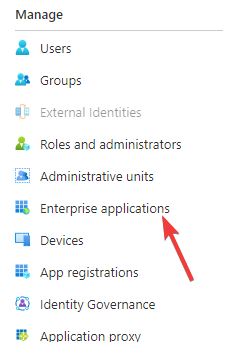
Open the Azure Active Directory Menue in the Azure Portal
-
Click on Enterprise applications
-
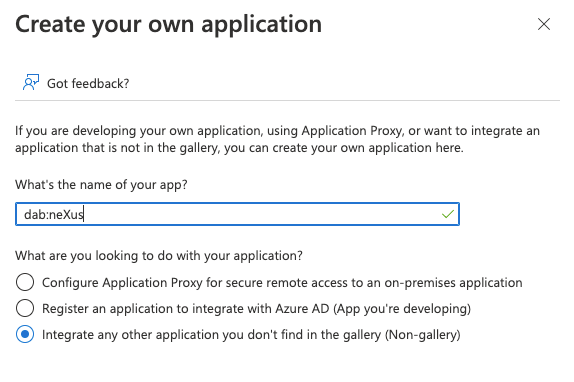
Chose New Application and then Create your own Application
-
Insert a name such as dab Nexus and activate the Checkbox Integrate any other application you don't find in the gallery (Non-gallery)
-
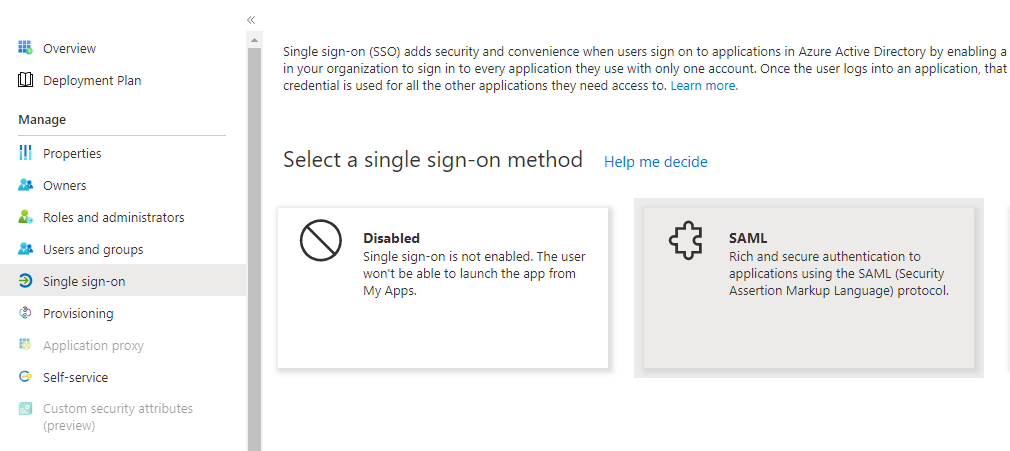
Click on Single Sign-On and then on SAML as SSO-Method
-
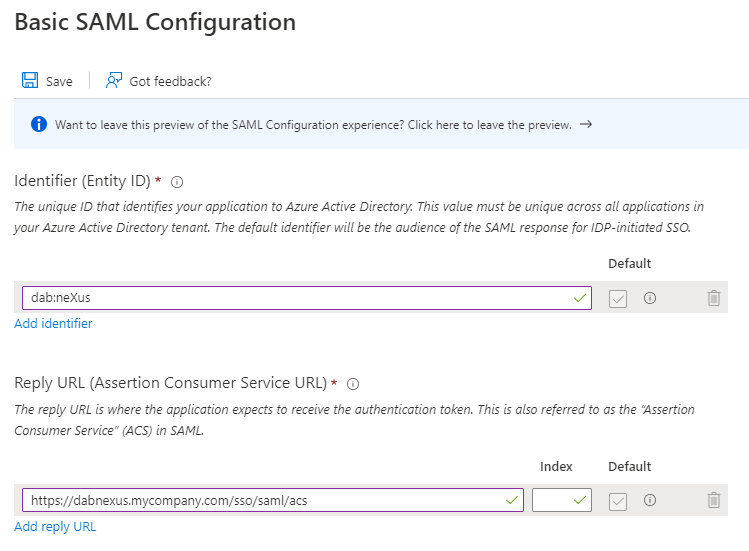
Click in the Basic SAML Configuration tab on Edit
-
Enter an Identifier, e.g. dab Nexus, and a Reply URL. This Reply URL is the Application URL you have choosen in the dab Nexus installation. You can find it in the Configuration.json in the DAB_NEXUS_HOME directory, it ends with
/sso/saml/acs
-
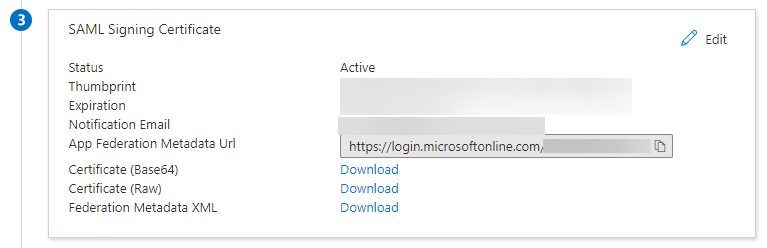
Download a certificate from the SAML Signing Certificate section and install it in the Trusted Root Certification Authorities of the server dab Nexus is running on
Adjust the Configuration.json and add the following rows:
  "AuthMode": "SAML",
  "SAML": {
    "Issuer": "dab Nexus",
    "IdentityProviderMetadataUrl": "https://login.microsoftonline.com/...",
    "IdentityProviderMetadataFile": "IdPMetadata.xml"
  }
- Change the AuthMode to SAML
- Enter the previously selected Issuer in the SAML area
- Enter either the IdentityProviderMetadataUrl or the IdentityProviderMetadataFile. You only need one of the two values.
- If you want to use the IdentityProviderMetadataUrl (recommended), copy and paste the App Federation Metadata Url from the SAML Signing Certificate section
- If you want to use the IdentityProviderMetadataFile, download the Federation Metadata XML from the SAML Signing Certificate section and copy and paste it in the DAB_NEXUS_HOME folder. Insert the name of this file as value of IdentityProviderMetadataFile
- Enter either the IdentityProviderMetadataUrl or the IdentityProviderMetadataFile. You only need one of the two values.
- Restart the dab Nexus Windows Service
Configure SSO with Active Directory Federation Services (AD FS)
-
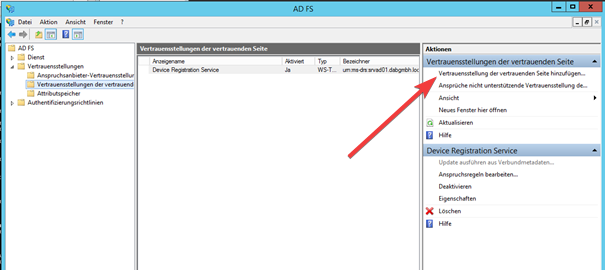
Open the AD FS Managementtool and navigate to the Trust settings of the trusting side
-
Click on Add trust settings of the trusting side
-
The Assistant to Add trust settings of the trusting side will open
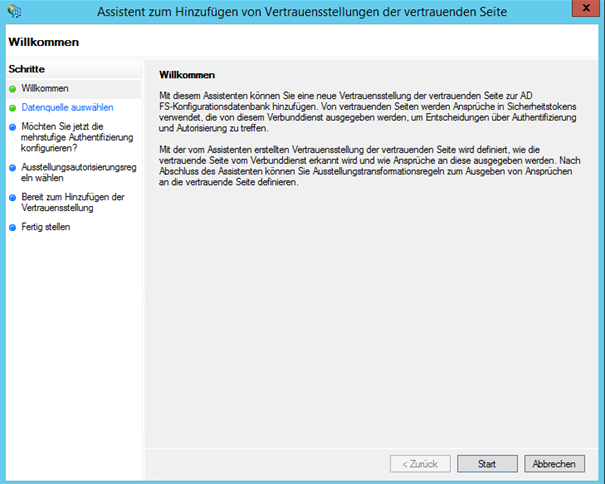
-
Activate the checkbox Enter data manually via the trusting side
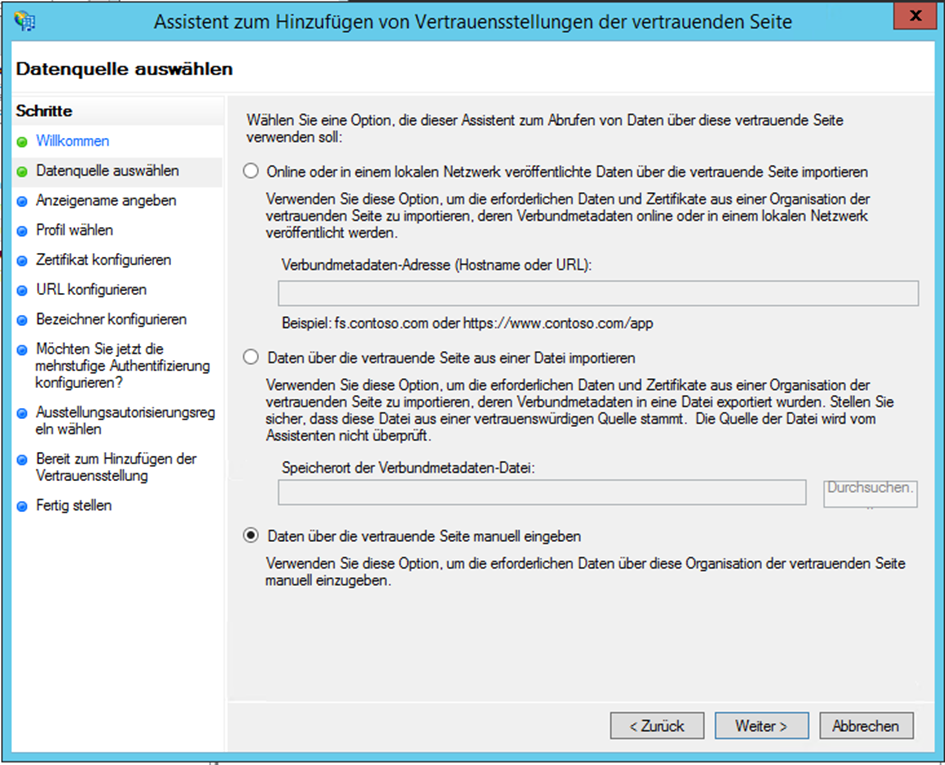
-
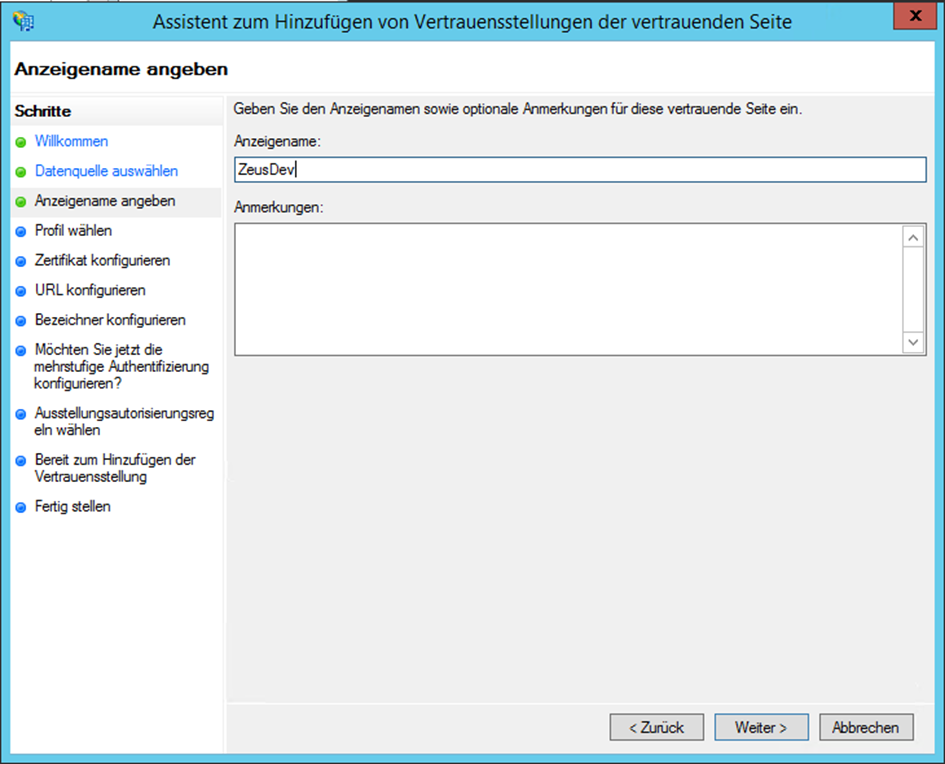
Enter a display name such as dab Nexus (we used ZeusDev in the screenshots - change the name to the display name you chose earlier, e.g. dab Nexus)
-
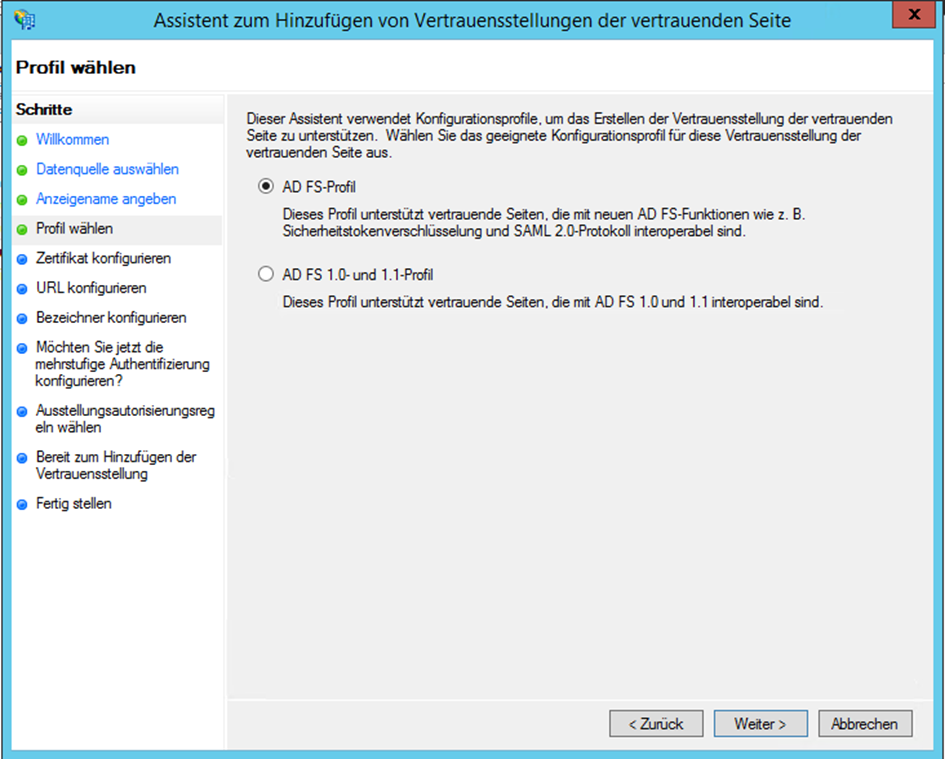
Select the AD FS Profile because dab Nexus uses the SAML 2 protocol
-
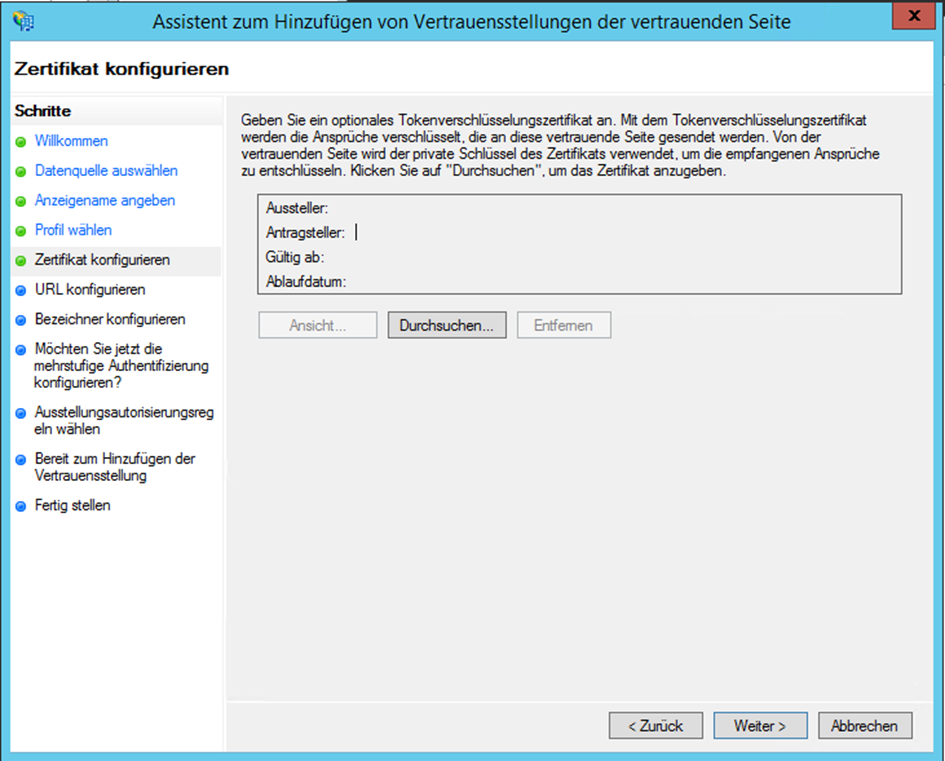
Click on Continue without to configure the optional Token encryption certificate
-
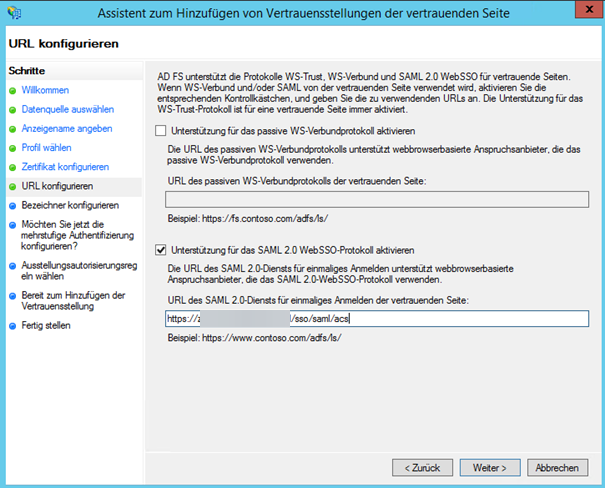
Activate the checkbox Support for the SAML 2.0 WebSSO protocol and insert the Application URL from the dab Nexus installation as URL which ends with
/sso/saml/acs
-
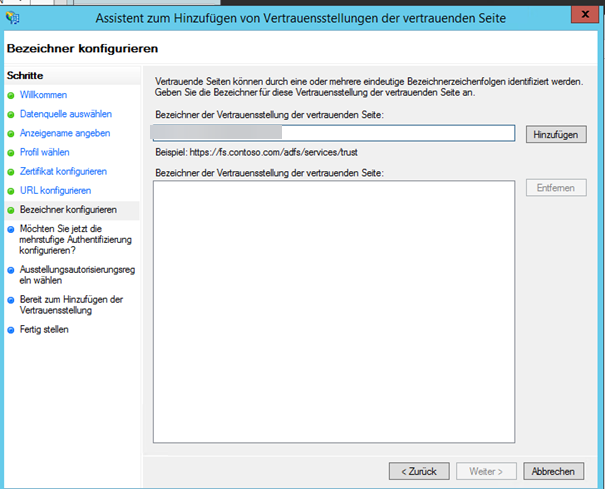
Enter an identifier for the Trust Position of the trusting side such as dab Nexus
-
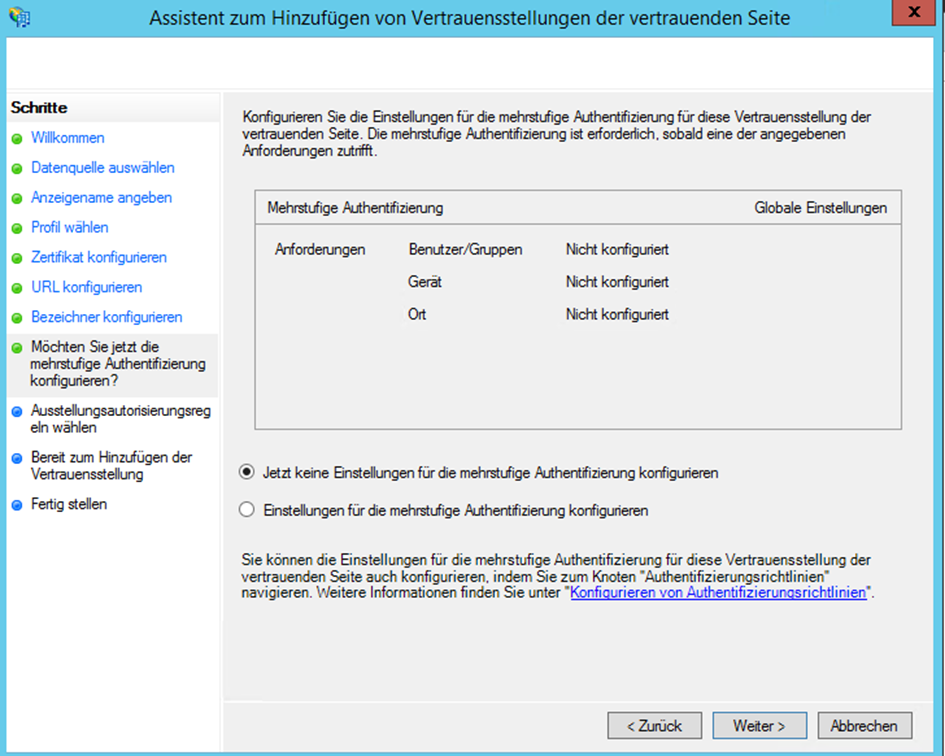
Skip the settings for the multi-factor authentication by activating the checkbox 'Do not configure settings for multi-factor authentication now'
-
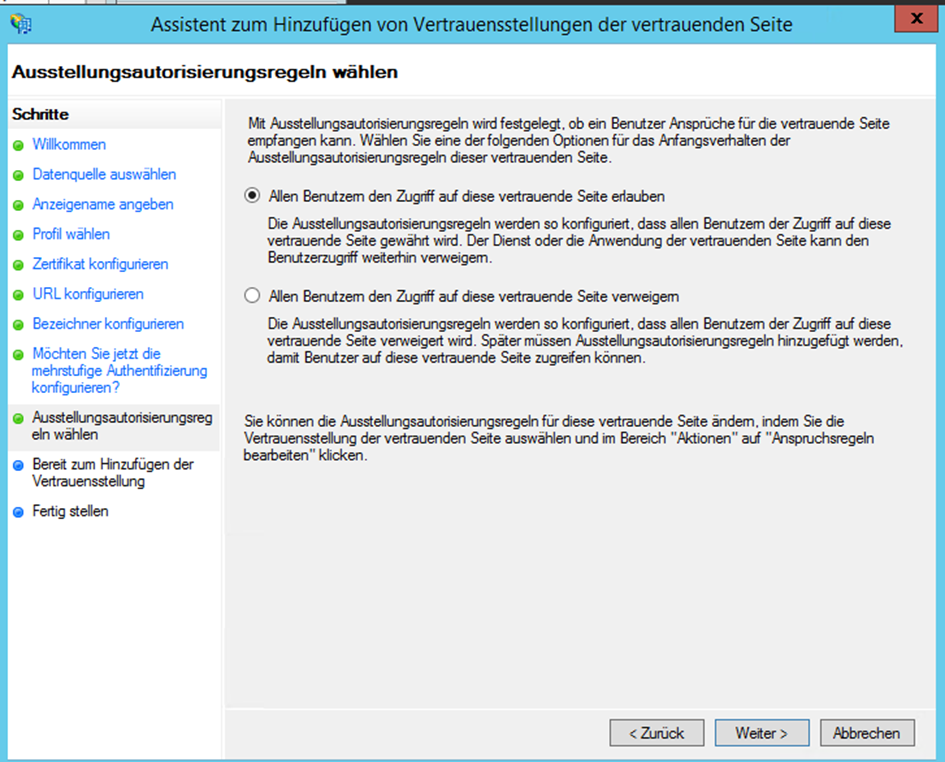
Configure the user access as required
-
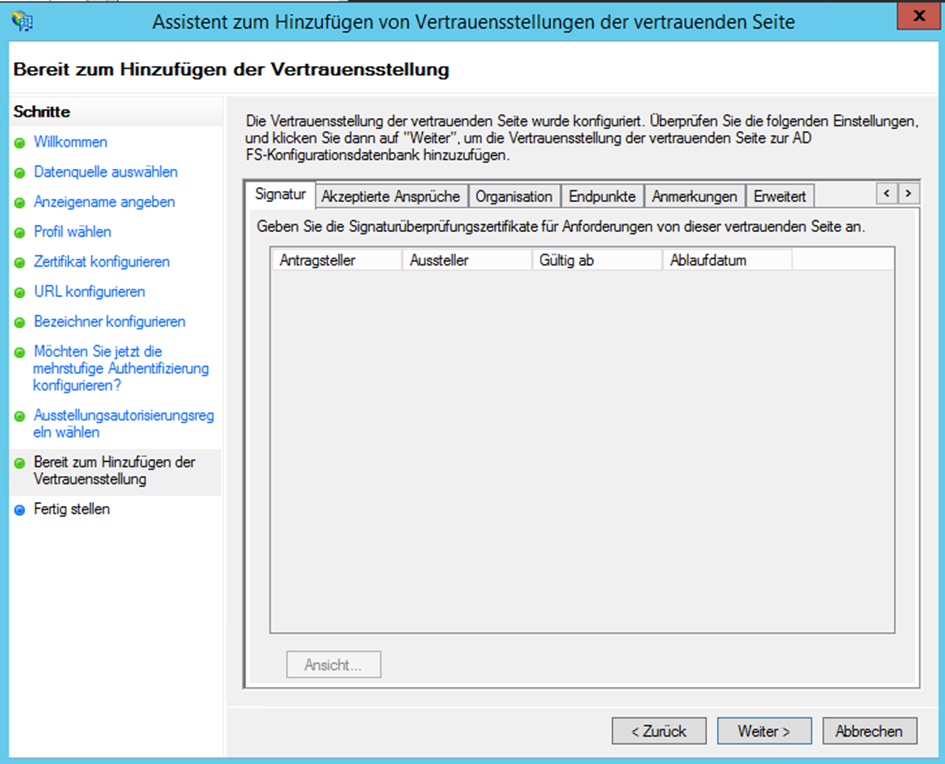
Check the settings and click on Continue
-
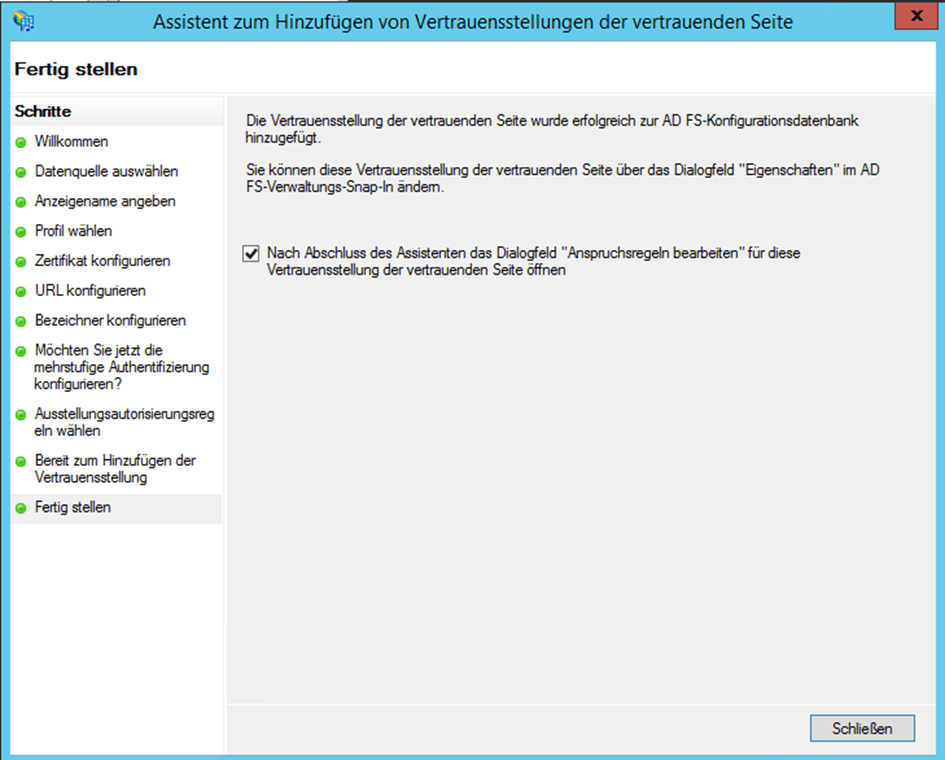
Close the assistant
-
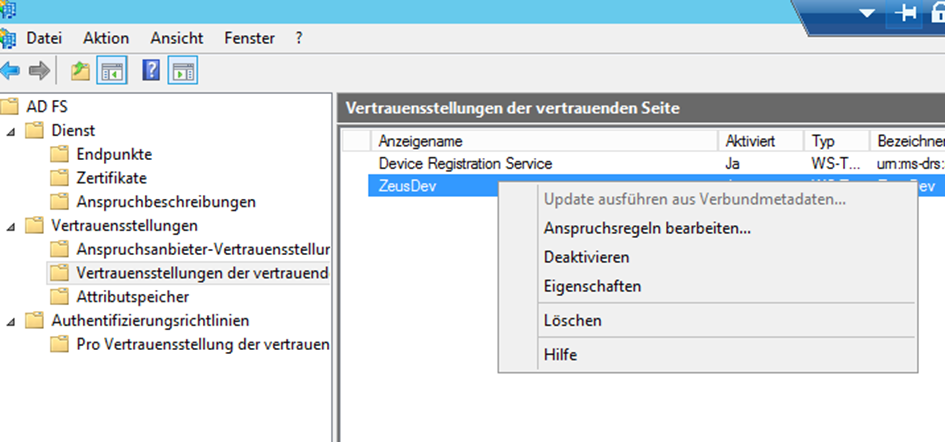
If necessary, open the dialog for Editing the Entitlement Rules by right-clicking on the created entry and select Edit Entitlement Rules
-
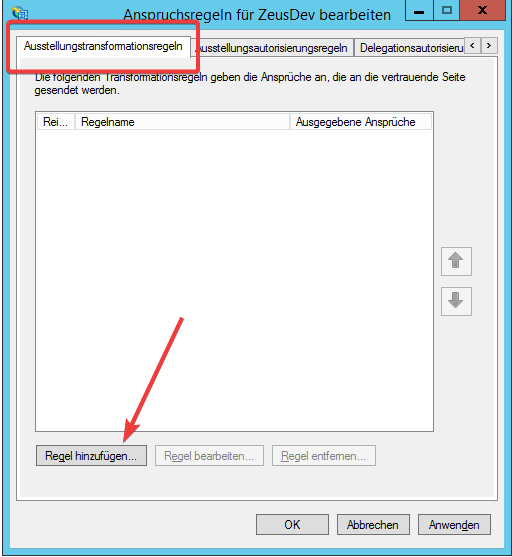
Navigate to the Tab Issueing Transformation Rules and click on the button Add Rule
-
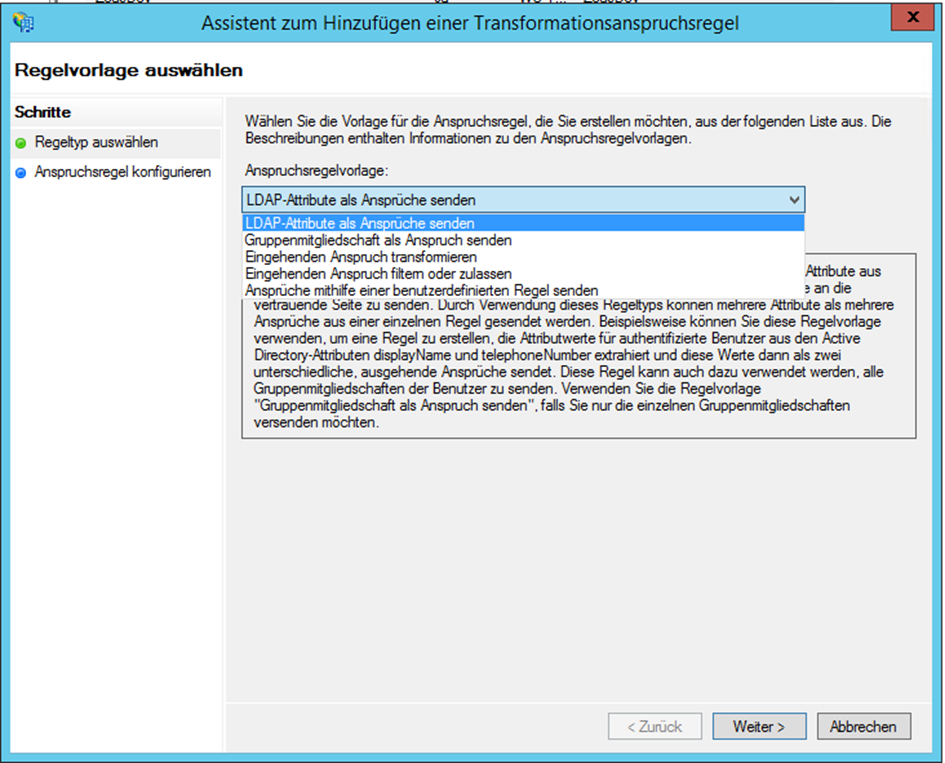
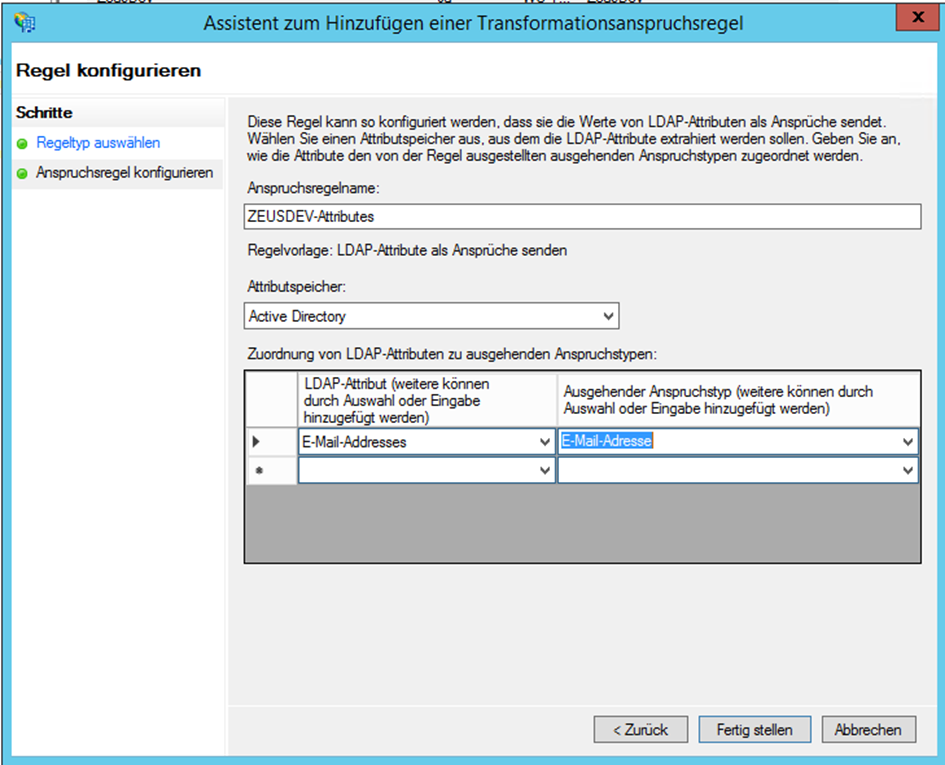
Chose the option Send LDAP Attributes as Claims in the Assistant for Adding a Transformation Rule
-
Enter any Claim Rule Name and select e-mail-addresses as LDAP Attribute and assign it to the Outgoing Claim Type e-mail-address, then save the transformation claim rule
-
Adjust the Configuration.json and add the following rows:
  "AuthMode": "SAML",
  "SAML": {
    "Issuer": "dab Nexus",
    "IdentityProviderMetadataUrl": "https://my-dc.mycompany.com/...",
    "IdentityProviderMetadataFile": "FederationMetadata.xml"
  }
-
Change the AuthMode to SAML
-
Insert the previously chosen Issuer in the SAML area
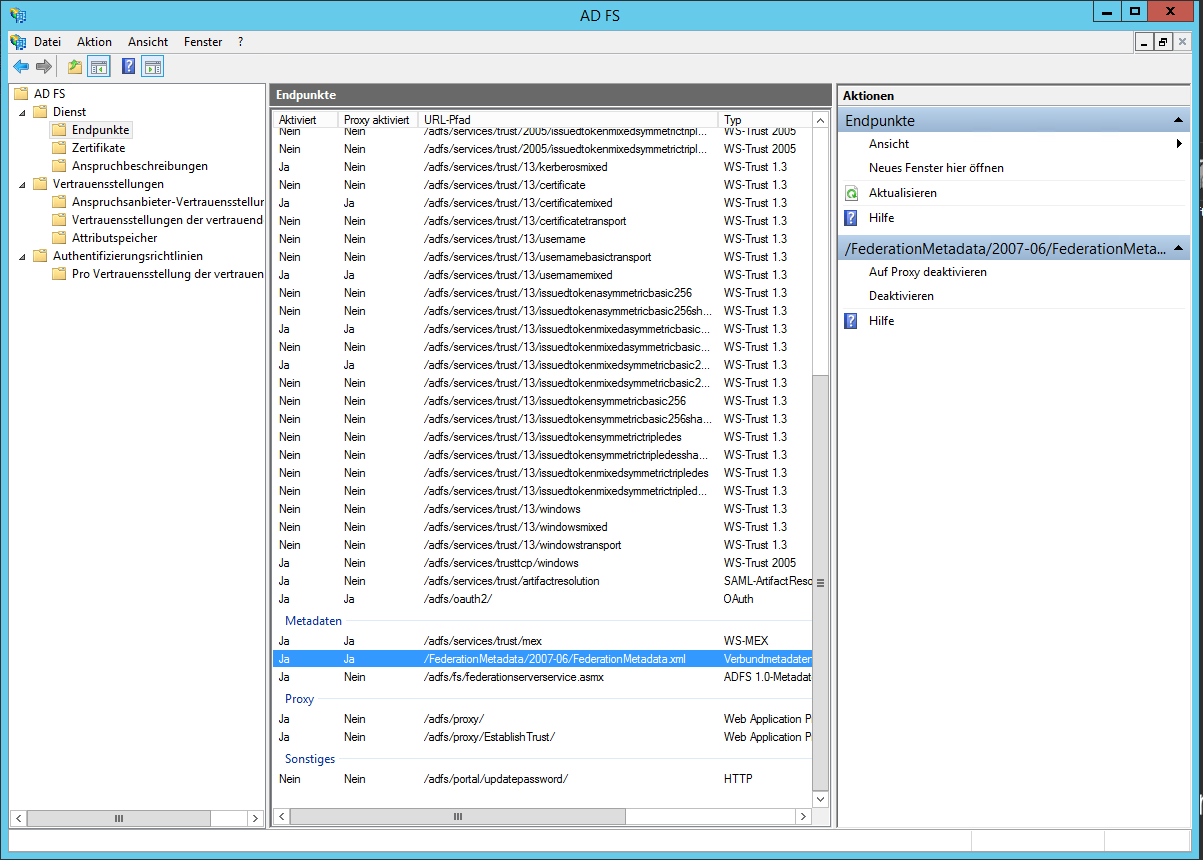
- Enter either the IdentityProviderMetadataUrl or the IdentityProviderMetadataFile. You only need one of the two values. Navigate in the AD FS Administrationtool to Service/Endpoint. Quite at the end of the list you find a URL for the FederationMetadata.xml
- Enter either the IdentityProviderMetadataUrl or the IdentityProviderMetadataFile. You only need one of the two values. Navigate in the AD FS Administrationtool to Service/Endpoint. Quite at the end of the list you find a URL for the FederationMetadata.xml
-
Add the URL to the hostname of your AD FS-Server, e.g. my-dc.mycompany.com/FederationMetadata/2007-06/FederationMetadata.xml
-
Enter the URL in your Browser to check it. Now you have the oportunity to download the XML file:
-
If you want to use the IdentityProviderMetadataUrl (recommended), insert this URL as IdentityProviderMetadataUrl
-
If you want to use the IdentityProviderMetadataFile, download the XML File with your Broswer and copy and paste it in the DAB_NEXUS_HOME folder. Insert the name of this file as value of IdentityProviderMetadataFile
-
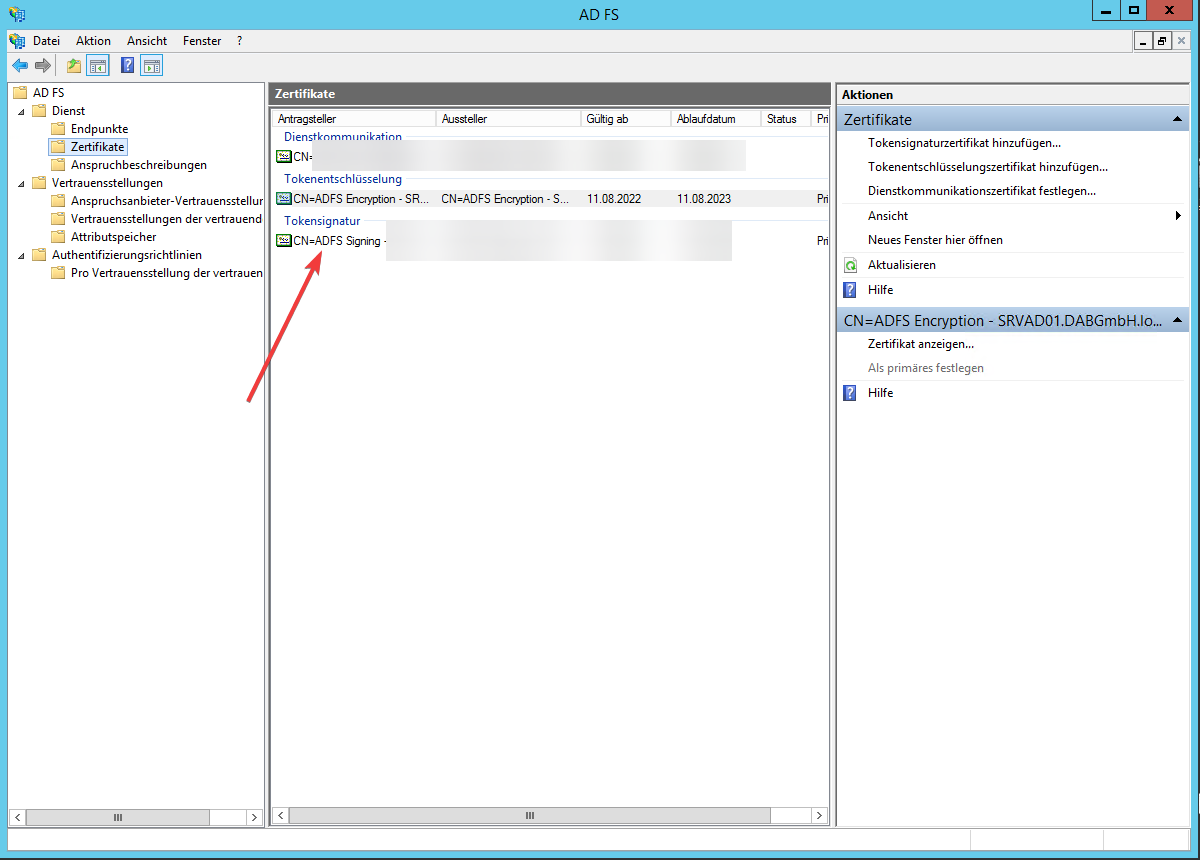
Navigate to Service/Certificate and copy the certificate into a file by selecting the certificate and choosing View Certificate
-
Install it in the Trusted Root Certificate Authorities of the server of the server dab Nexus is running on
-
Restart the dab Nexus Windows Service