Various steps and settings are required to set up mail notifications. In this article you will learn how to activate the mail notifications.
Application Settings
Log in to dab Nexus and click on Settings at the top and then on Application Settings in the left-hand area.
Then activate the first option E-Mail Configuration (SMTP). Depending on the choice of your Authentication from the below option, you can setup the E-mail Configuration (you should usually get information for the corresponding fields from your IT-Team).
Credentials
Sender Email
Connection Security
SMTP Server
SMTP Port
Username
Password
Server Authentication
Sender Email
Connection Security
SMTP Server
SMTP Port
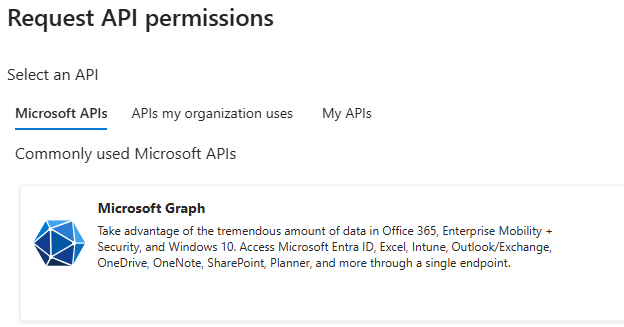
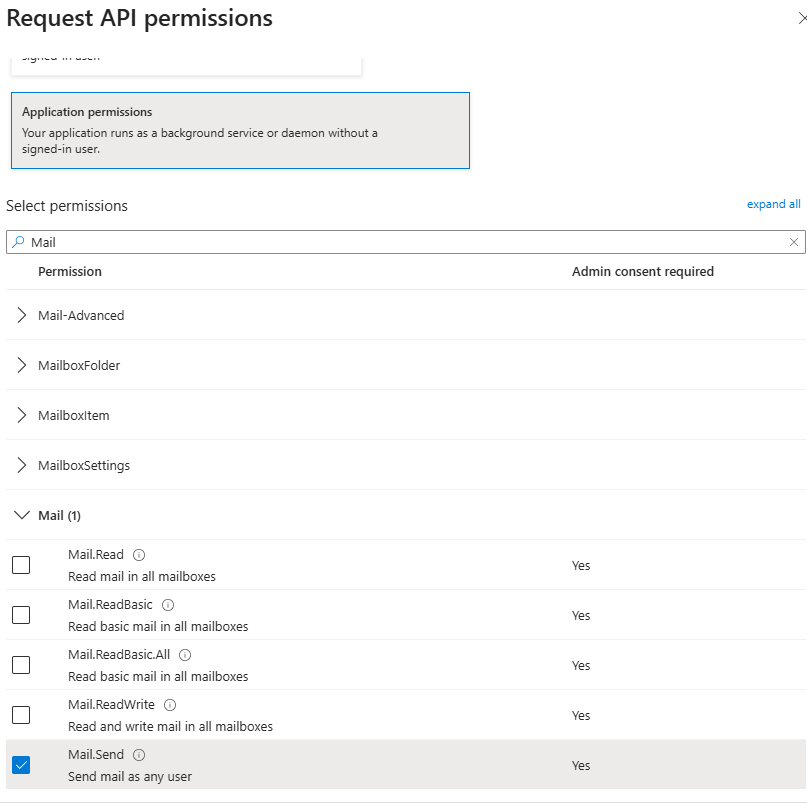
Service Principal - When sending emails via SMTP, the service principal authenticates the application using ClientID and Client Secret, obtains access token from Microsoft Entra Id using it to authenticate with the SMTP server and sends email on behalf of a mailbox. Add Mail.Send API permissions: Go to Manage -> API permissions in your Azure Enterprise Application. Select the API permissions tab and click on Add a permission. Select Microsoft Graph from the permission list.Choose Application permissions, search for Mail in the search area, then check Mail.Send permission from the list and add permission using the Add Permissions button. Provide admin consent for Mail.Send permission for Microsoft Graph API. Make sure the permission is listed in the permissions grid.Mailbox Permissions - The service principal must be granted access to the mailbox it sends from. RBAC for Applications in Exchange Online allows admins to grant permissions to an application that's independently accessing data in Exchange Online. This grant can be paired with a scope of access (resource scope) to specify which mailboxes an app can access.
Sender Email
Tenant Id - In the Azure Portal, under Microsoft Entra Id -> Overview
Client Id - In Azure Portal, under Microsoft Entra Id -> Manage -> App registrations -> <Your App>. Navigate to your app and copy the Application (client) ID.
Client Secret (Optional) - In Azure Active Directory -> App registrations -> Your App. Navigate to your app. Go to Manage -> Certificates & secrets. Under Client secrets, Value contains the Client Secret.
System-Assigned Managed Identity System-assigned identities are directly linked to a single Azure resource. When the Azure resource is deleted, so is the identity.
Sender Email
User-Assigned Managed Identity User-assigned managed identity can be associated with multiple Azure resources, and its lifecycle is independent of those resources.
Sender Email
Then test the settings with Test Connection. You will receive a success message if the connection could be established or an error message if the settings are incorrect.
Save the adjustments via Save Settings.
Profile
As soon as the application settings are available and the connection test is successful, you can set the notifications for yourself in your profile.
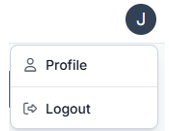
To do this, click on your user's icon in the top right-hand corner and click on Profiles in the submenu:
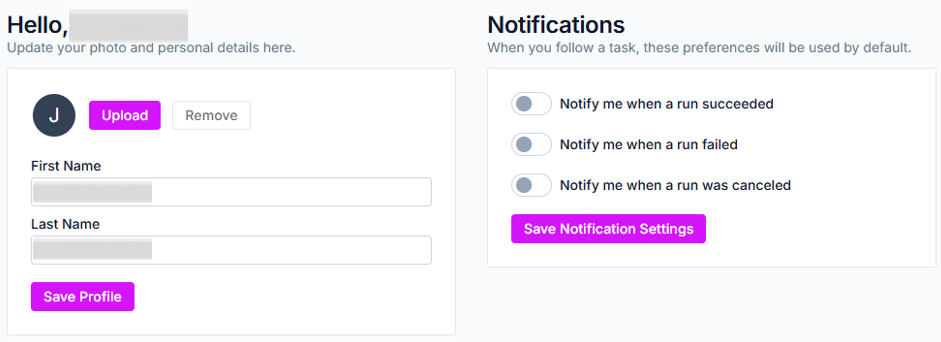
In the following screen on the right side, you can specify the runs for which you would like to be notified by default. You can be notified of successful, failed or cancelled runs. Set your preferences and click on Save Notification Settings.
Tasks
To receive notifications for all the tasks you want, you must carry out the following steps.
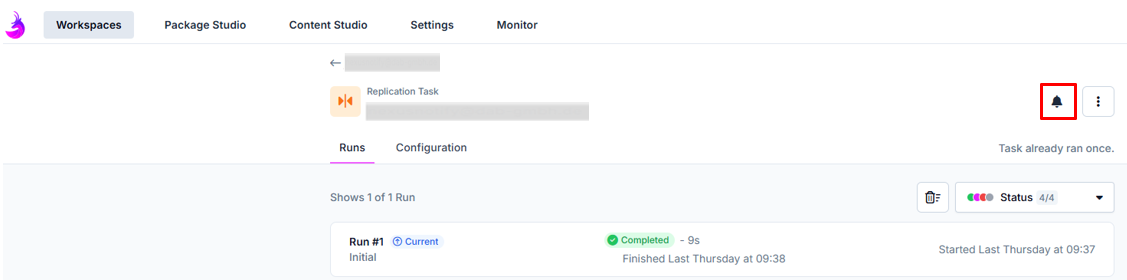
Click on Workspaces at the top, choose a workspace from the list, click on a task in the overview and then click on the Bell button at the top right of the task when the Run begins.
The settings you made in the Profiles section will now be applied to this task and you will receive an email notification. There are 3 available options: Ends, Fails or is canceled and Never (default).
 Updated 4 months ago
by
Stephanie Krenz
Updated 4 months ago
by
Stephanie Krenz