Implementation
Download files
- In the first step you have to download the dabAnalyticSuite_StartScript_x_x_xx.zip from the customer portal.

- After you have unzipped the ZIP file, you will find the following three files in it:
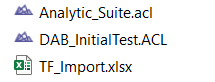
Analytic_Suite.acl - project file to run dab:AnalyticSuite
DAB_InitialTest.ACL - project file for a test of the installation
TF_Import.xlsx - Configuration file of the dab AnalyticSuite
Robot Creation
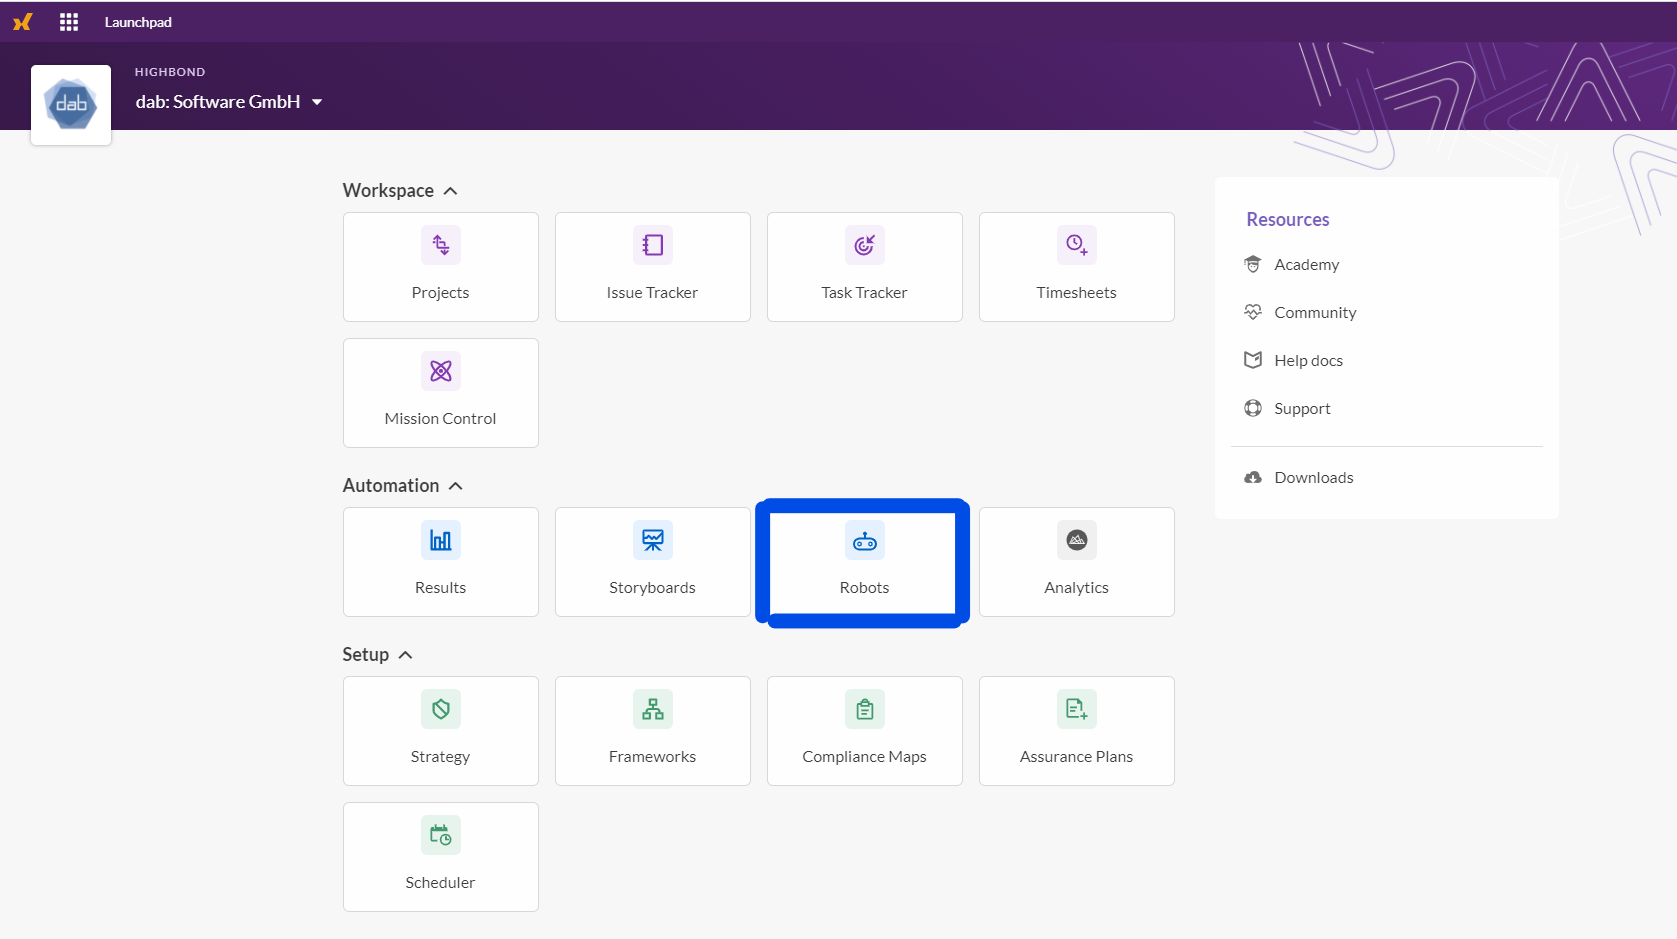
Variant 1 (manually via Launchpad or Robots Module)
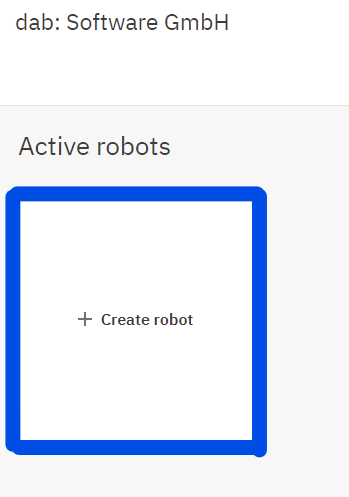
Log in to Launchpad and go to the Robots module. Here you can create a new Robot.
The application allows multiple robots for different analysis projects in the company. The dab AnalyticSuite represents the standard analyses for SAP data. If additional robots are used, it is best to introduce a naming convention by dividing the robots into the following areas, for example:
- Thematic (what does the robot take care of)
- Entity-related (departments in the company)
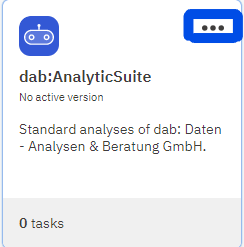
For transparency reasons, it is recommended to choose a meaningful name and add a short but informative description, so that it is clear what the robot takes care of.
Additionally, you can set icon/color of the robot to divide them into groups.
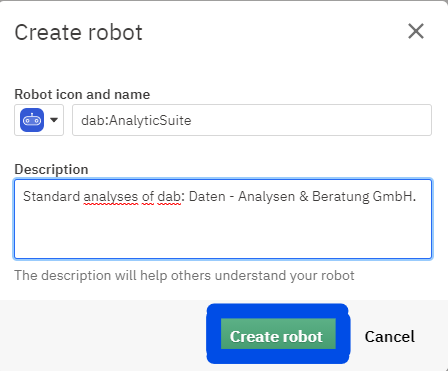
After clicking Create Robot the created robot appears in the display.
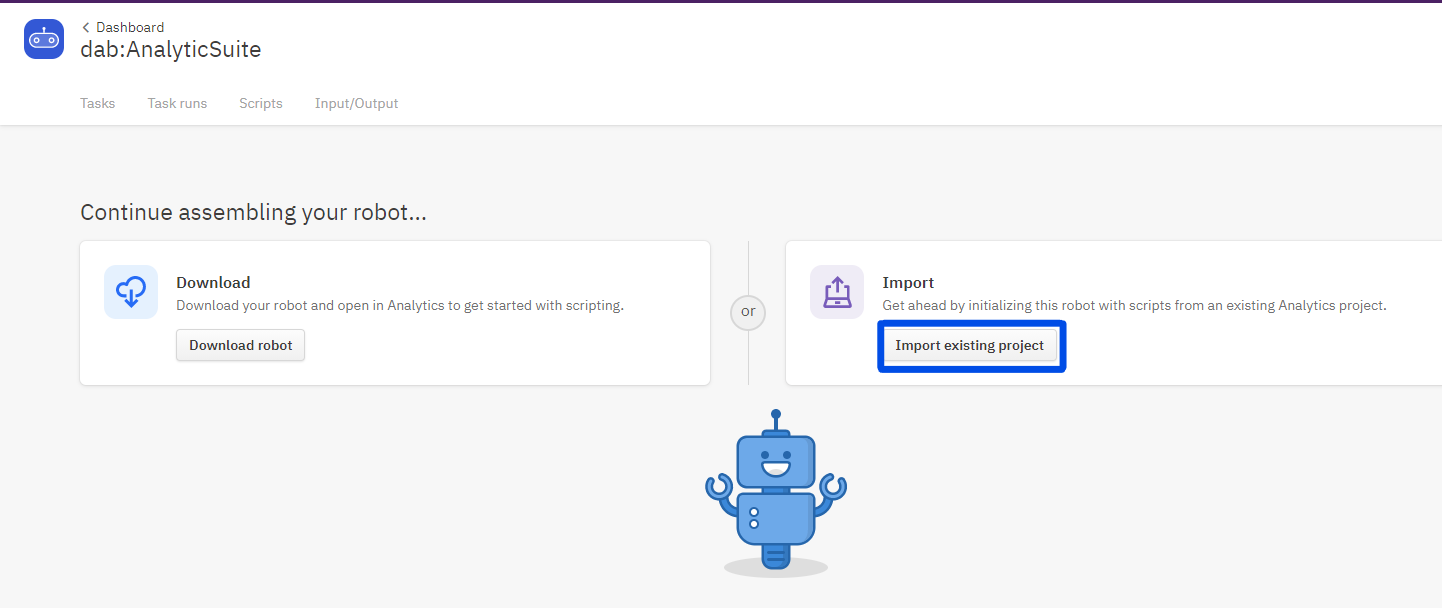
If you select the robot now, it is still empty. The ACL project file, which contains the analysis logic, is required so that evaluations can be made. You can either download an empty project template to develop the analysis logic or import an existing project.
To set up the dab AnalyticSuite the previously downloaded project file (Analytic_Suite.acl) has to be uploaded.

Variant 2 (with ACL Analytics)
Open the downloaded project file - Analytic_Suite.acl in the Analytics application (ACL for Windows) and navigate to File and Commit Scripts As.

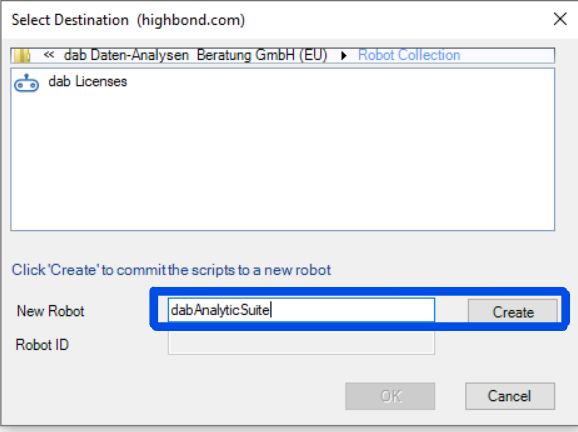
A window will open with all the organizations you are assigned to in HighBond. After that, all the robots already created for your organization will be listed. However, you also have the option to create a new robot. To do this, enter the name for the robot in the text field next to New robot and then click on the Create button.
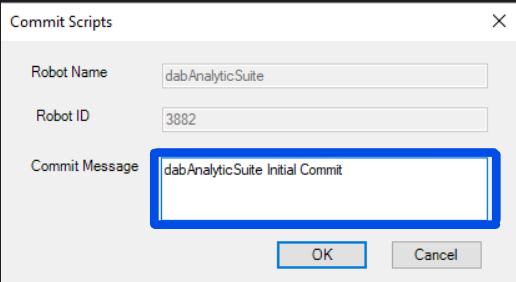
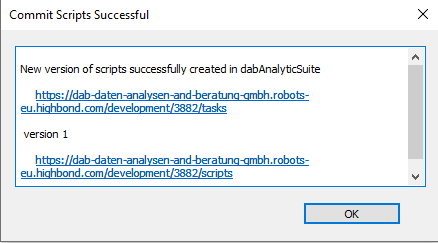
Once the robot is created, the project including the scripts can be imported directly into it. For the import a transmission message is requested, which represents a comment to the uploaded version. If you confirm, you will receive a success message containing links to the robot you have just created in the development environment.
When creating a robot via ACL Analytics, it is not possible to add a description. Only attaching a transmission message is necessary. If you want to add a description, you can edit the robot afterwards.
In return, however, a script version is already stored in this variant and does not have to be uploaded additionally, as is the case when creating a robot via the robot module.
Robot Modification
In order to edit the robot afterwards, change in the robot overview and select the 3 dots in the upper right corner of the desired robot. A small menu opens in which you can edit or delete the robot. Under Edit details you can edit the name, the description and the symbol of the robot.
Development- & Productive-Environment
Developer mode is for working together in a team on a script and testing it. This script is finally released into production mode for the end user.

Use in production mode
Activation of the script
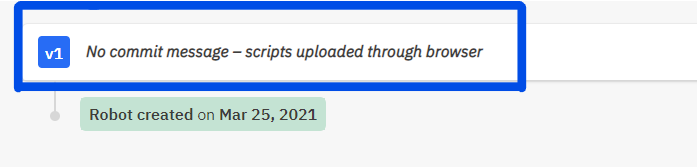
To be able to use the script/version in productive mode, it must first be activated. For this purpose, it is necessary, if not already done, to switch to the development environment and click on the Script versions tab there.
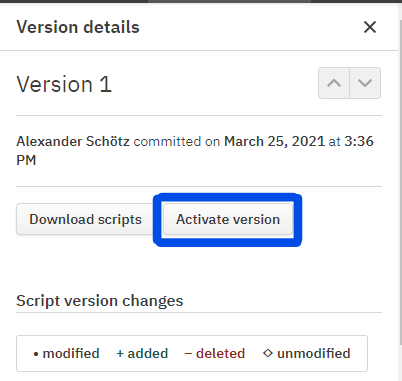
An overview of the uploaded scripts opens. Now you have to click on the desired script and a window with more detailed information about the script appears on the right. There you will find the button Activate version.
After clicking this button you get the possibility to add an optional comment. After clicking on Activate V# (# stands for the respective version number) you have successfully activated the version and can now use it in production mode.
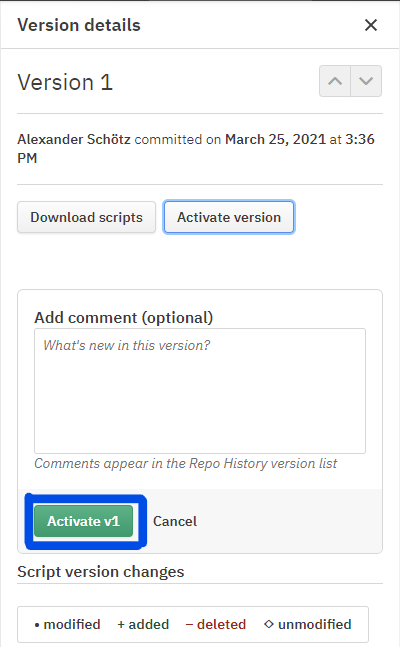
This means that the robot is now also accessible via the productive environment and can be actively used by all authorized users.
Import TF_Import.xlsx
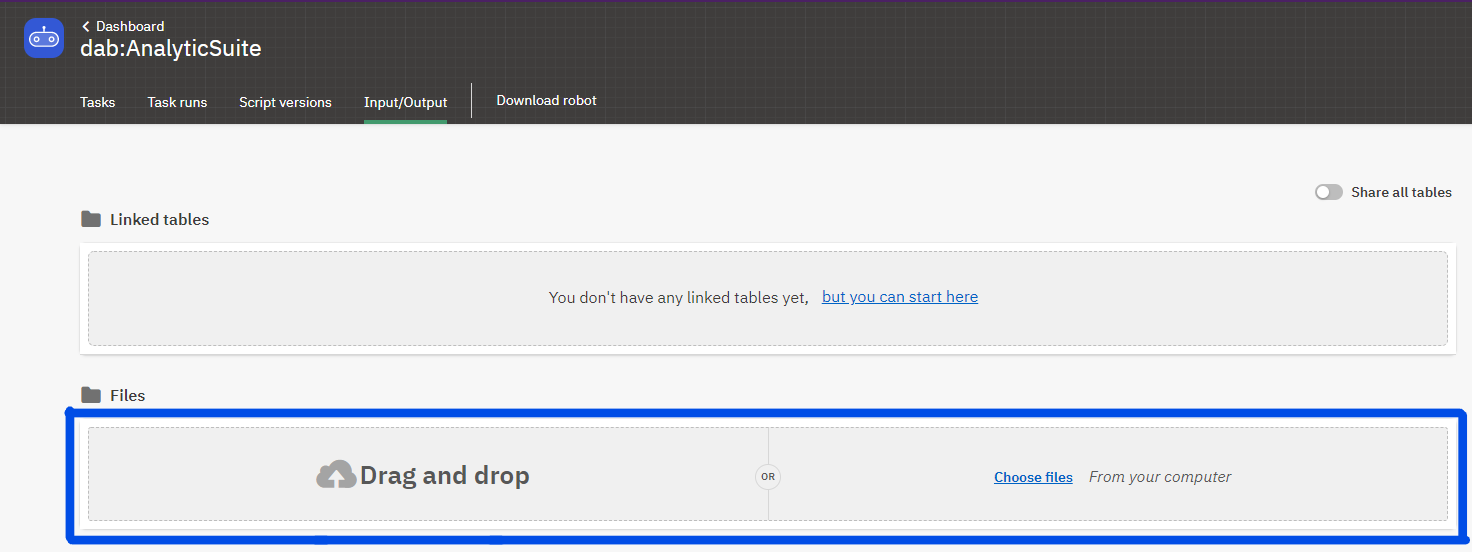
Before you can create the first task, you have to upload the Excel file TF_Import.xlsx. To do this, click on the Input/Output tab -> no matter if your are in the developer or productive mode, each mode has its own configuration file.
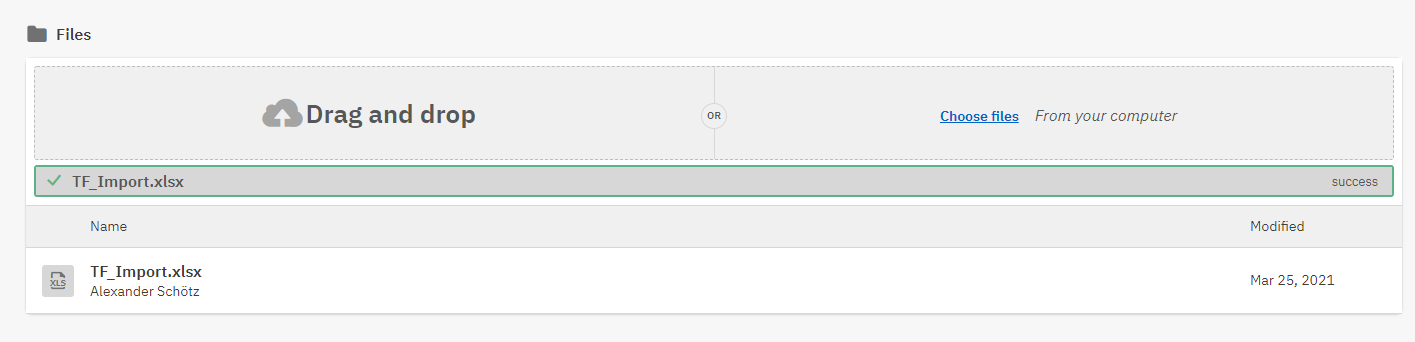
Now you have the possibility to upload the desired file via drag and drop or to insert it via the explorer. If the upload was successful, you will receive a success message and the uploaded file will appear on the screen.
Once all the above steps have been performed, the robot can be executed to create the desired data analyses. You can read how to do this here: dab:AnalyticSuite for Robotics - Execution.