Download Directories
Download directory for Analytics by Galvanize / CSV
The export to Analytics by Galvanize / CSV takes place in a download directory. This directory must be accessible via a UNC path and the user running the dab:Exporter Windows service must have read and write permissions in the folder.
Create an download directory with Windows Explorer
Change user of dab:Exporter Windows service
To provide a folder in the network you have to do the following steps:
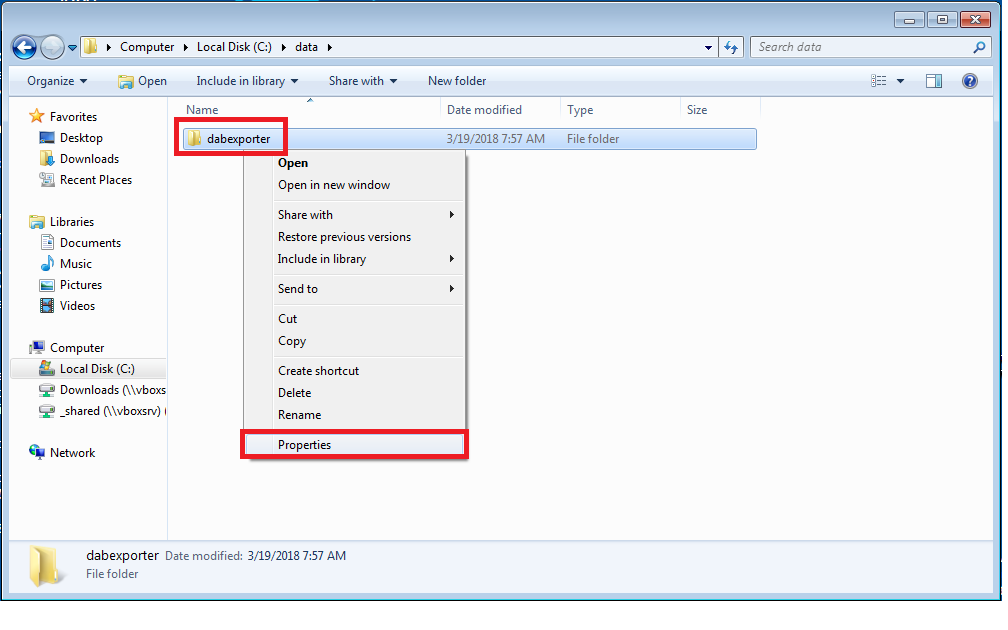
Navigate to the folder where you want the data to be saved and right click on the folder.
Choose properties in the menu
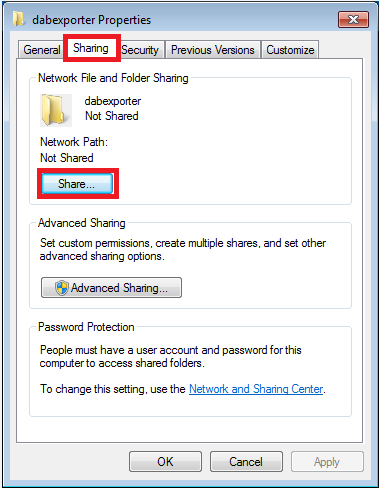
Choose the tab Sharing and click on Share.
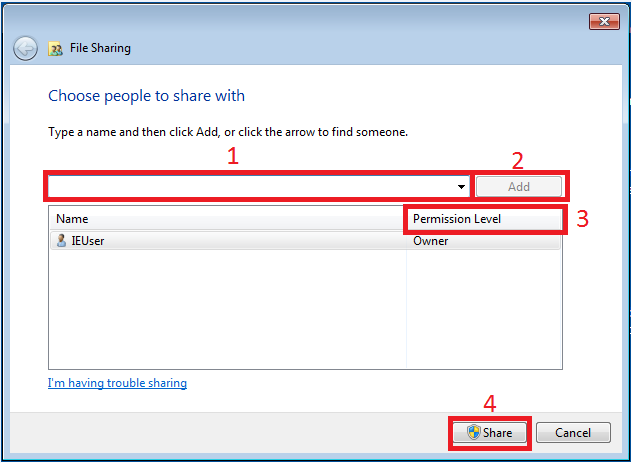
Type in the username of the windows service (standard: network service) and all user or user groups who should have access to the directory.
Change the permission to Read/Write. When this is done, you can click on Share.
Network service: This is the user under which the dab:Exporter service runs and thus uses its permissions.
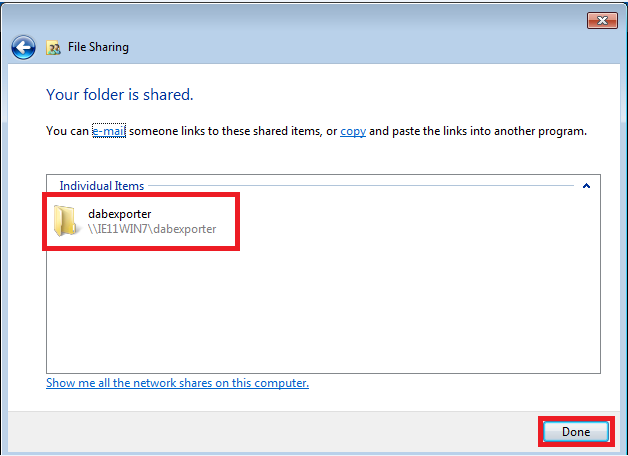
Now you can see the UNC-Path of the folder. You should inform the administrator of the dab:Exporter about the UNC-Path, so that this folder can be added to the dab:Exporter. The window can be closed by clicking on Done.
Configure an download directory within dab:Exporter
To set up an export directory for dab:Exporter you have to do the following steps:
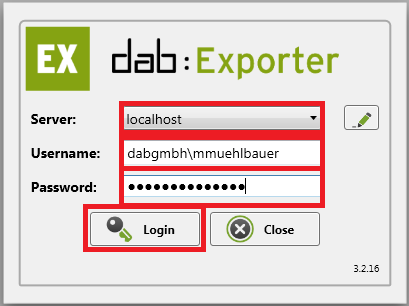
Open the dab:Exporter Client and log in
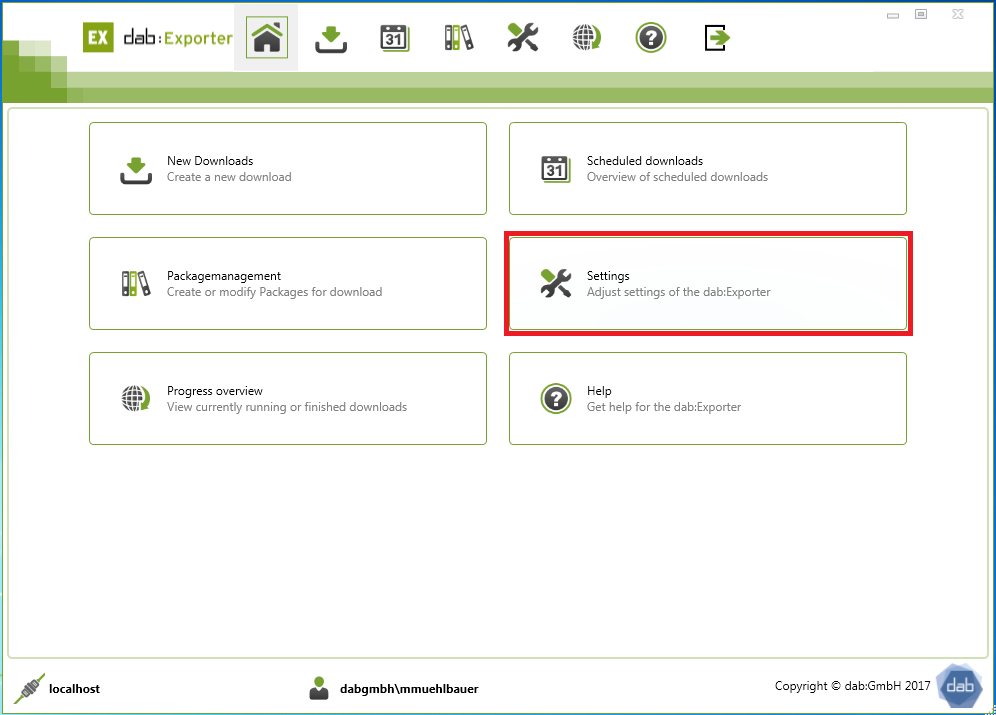
In the overview you click on Settings.
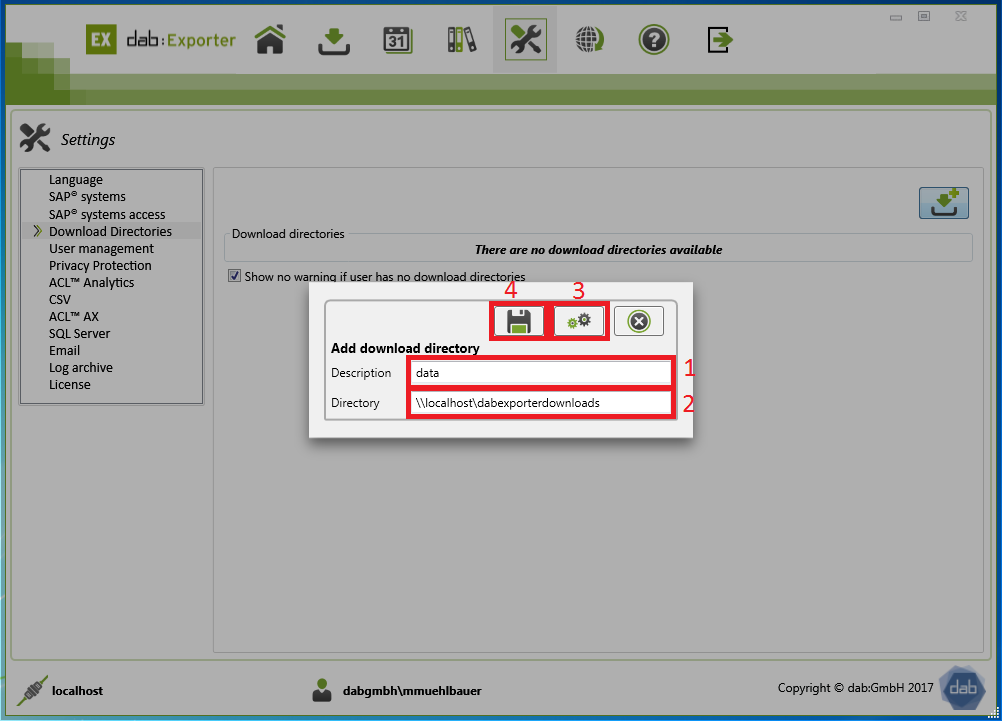
Create Download Directory
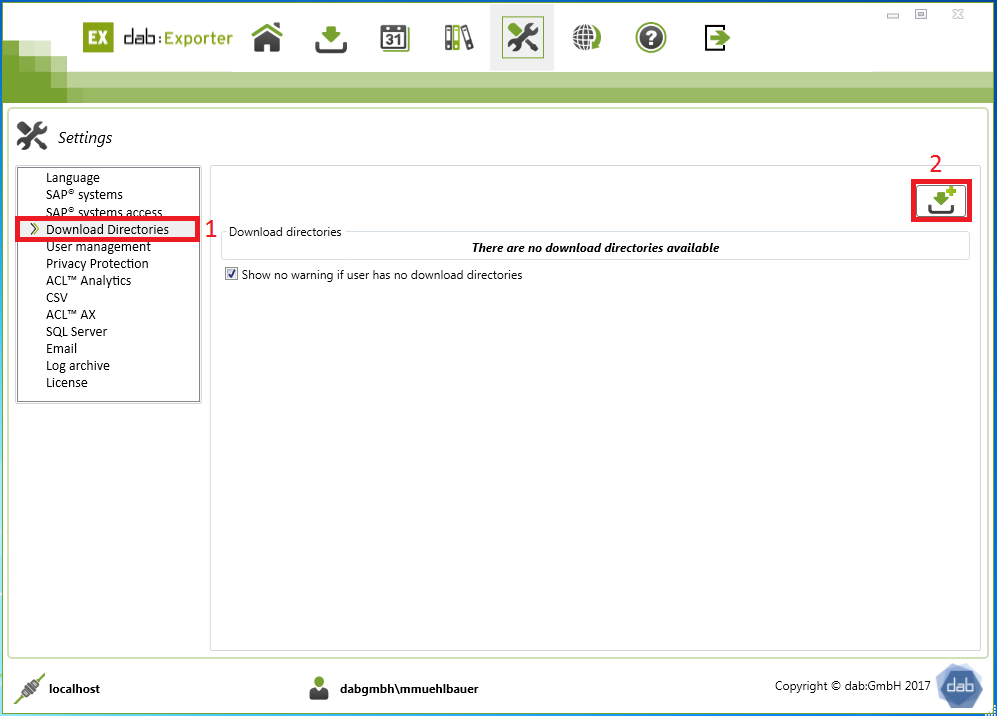
In the settings you click on Download Directories and then on Add-Icon in the right upper corner.
Type in a description and the UNC-Path to the export directory. With the gear wheels you can check the export directory. Click on the Disc-Icon to save your changes.
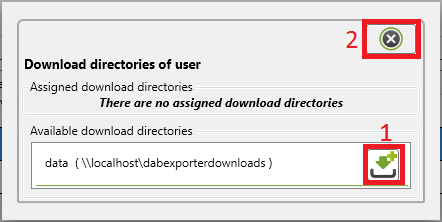
Assign Download Directory to users
After the download directory was set up, you still have to add a user to it. Therefore you have to select User management in the settings. You can assign a download directory to each user.
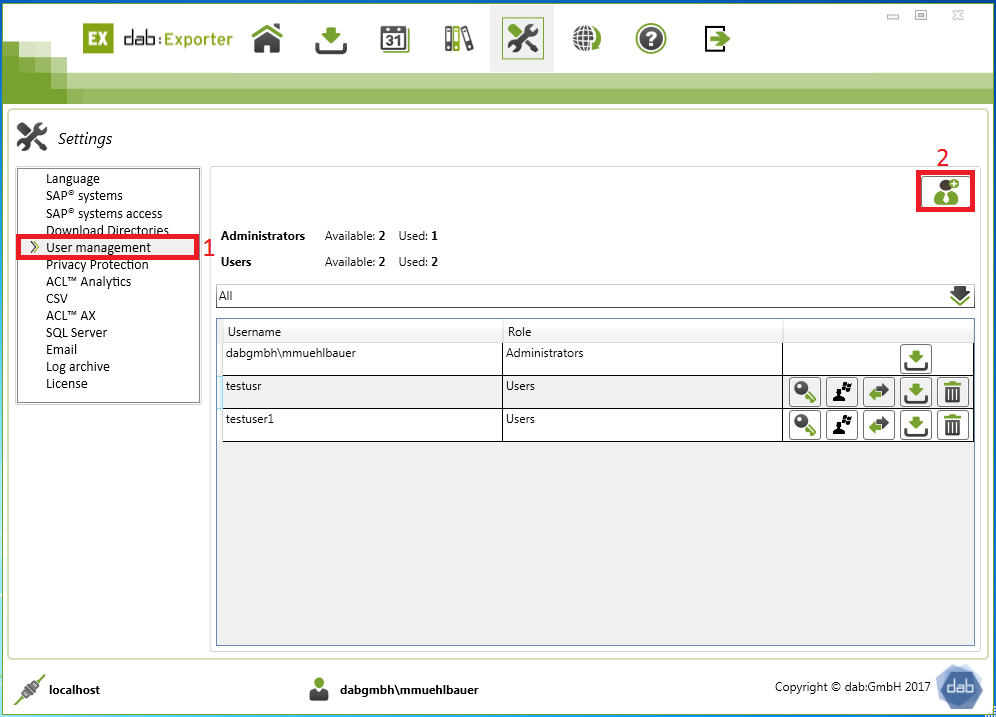
In the export directory assignment you have to click on the Download Directory add-Symbol.