Assign a Filter
Assign a Filter
Once you have created all the filters, they must be assigned.
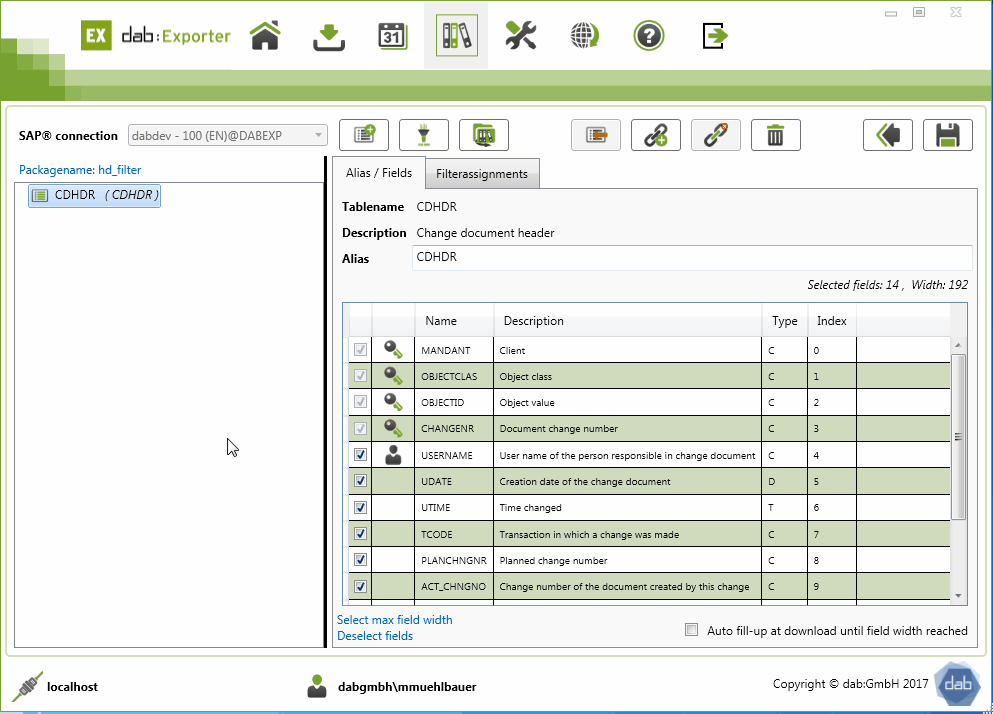
To do this, first click on the table to which you want to assign the filter.
This displays the entire structure of the table and all fields of the table.
Next, you must assign the respective filters to the table.
You can assign individual filters or, if necessary, all filters at once.
You can add all filters at once by clicking on the button with the two arrows.
You can add individual filters by clicking on the individual arrows.
Now you have assigned the filter to the table. This is now displayed in the Assigned Filters column.
There you will also see the name you assigned to the filter.
Directly next to it, you can use the drop-down field to specify the field for which the filter should check.
After you have added all filters, all you have to do is save the packet.