Operation
Task Creation
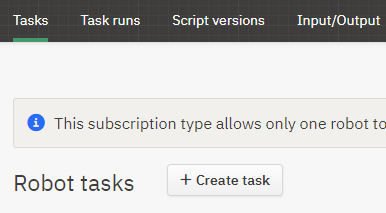
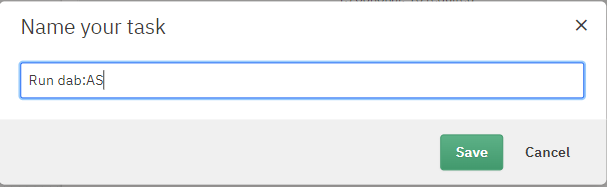
To create a task in your robot, you need to switch to the Tasks tab. A window will open with an overview of the created tasks. By clicking on the Create Task button, an input window appears in which you must enter the name for your task.
Download Data
This script is part of AnalyticSuite. It allows to perform only the download of the data for a selection of analyses. The SAP raw tables are stored on the server and can be viewed in the Input/Output tab. Various analysis runs can then be performed on this database prepared in this way without a download required in advance.
Alternatively, the analyses can also be performed without a separately executed download in advance. To do this, use the Run AnalyticSuite startscript described next.
Run AnalyticSuite
This script starts the analyses after entering the necessary parameters. It allows to run the analyses either on previously downloaded data (Script: Download Data) or to perform an individual download of the raw data for each run (Parameter: Download Data). In this case, the raw data is automatically deleted after a successful run and only the results remain.
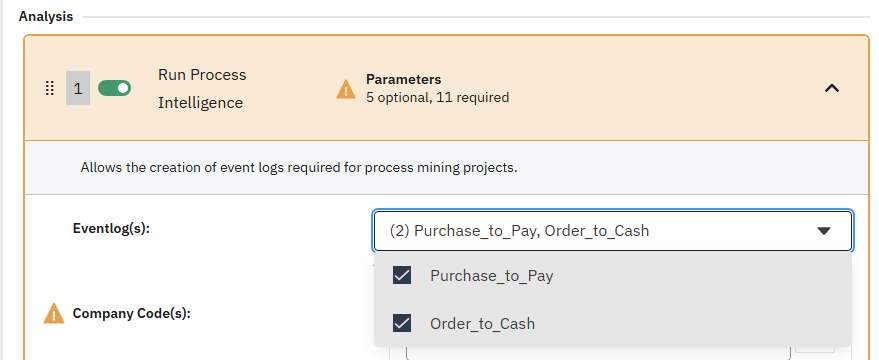
Run Process Intelligence
This script is a separate startscript that creates event logs for process mining.
If Run Process Intelligence is activated, some of the options change.
The following options are not available:
- Analysis Areas
- Individual Audit Steps
- Date Period Calculation
- Results Upload
Instead, you can select Eventlog(s):
Parameter Input
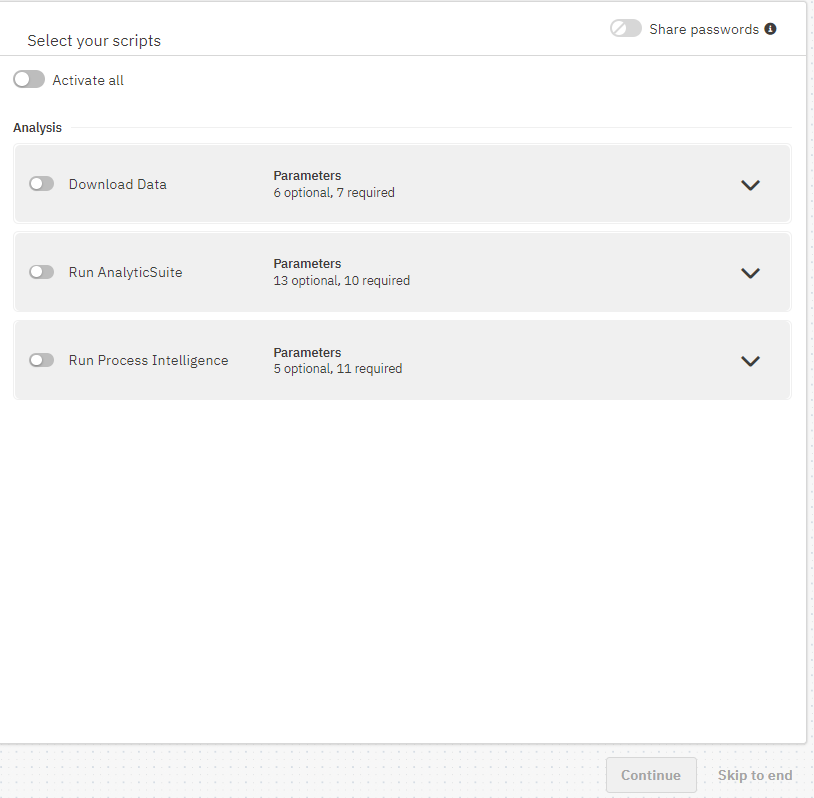
Now you have the possibility to select all startscripts or only some of them. Scripts contain parameters that can or must be filled. The mandatory fields are marked with an exclamation mark. By clicking the drop-down arrow in the respective startscript, you can open the list of parameters.
There are different types of parameters and depending on the data format (logical, numeric, character, date-time) it requires a different input. However, it is also possible to enter several values for one parameter. For example, there is a parameter in which company codes are entered. To do this, enter the four-digit company codes one by one and add them to the list using the plus symbol. This leads to the fact that only data of these company codes are downloaded and/or analyzed.
Below, each parameter is explained:
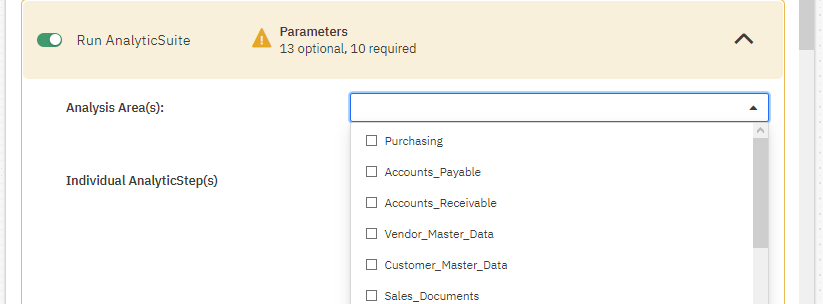
Analysis Area(s)
List of all areas/modules from dab:AnalyticSuite for running all your licensed AnalyticSteps from the selected modules.
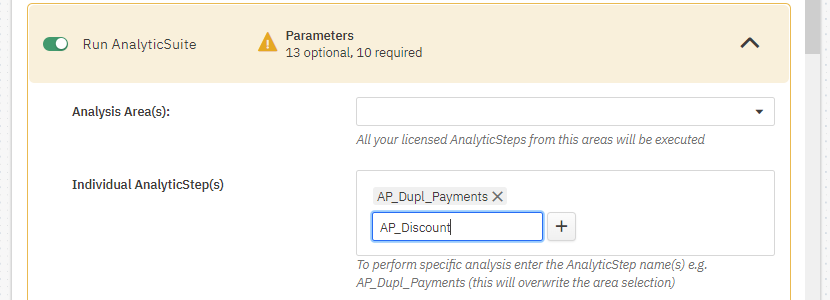
Individual AnalyticStep(s)
To run one or more analyses individually, enter the AnalyticStep name(s), e.g. AP_Dupl_Payments. This entry will override the Analysis Area(s) selection.
Please note that the exact name of the analysis must be entered.
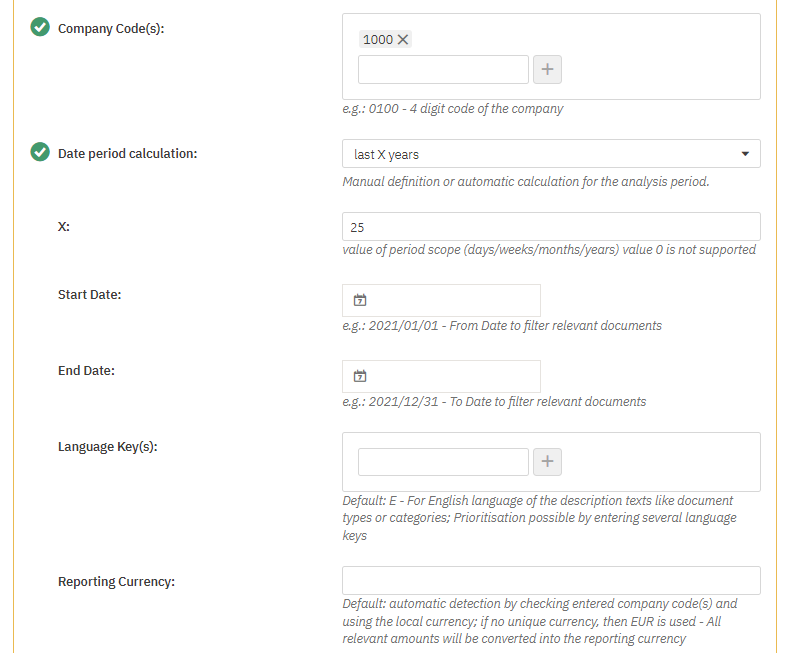
Company Code(s)
This allows the analysis run to be restricted to specific company codes.
If you enter #ALLCC#, all existing company codes will be analyzed. With the input of #PRODCC# all productive company codes are examined. (Table T001, Field XPROD, Indicator: Productive company code?)
An analysis of all company codes will lead to longer runtimes and may extract more data from the system than necessary.
Date Period Calculation
This parameter determines whether the analysis period / data download is specified via a fixed start and end date or is to be calculated automatically. This is necessary if analyses are to be executed continuously and the analysis period must move along automatically (e.g. monthly executed analysis over the documents of the last 12 months).
Parameter | Description |
None - use fix Start/End Date | No calculation, instead the date values from the Start/End Date parameters are used. The input in the parameter X is ignored. |
last X days/weeks/months/years | Calculation of the date values starting from today retroactively via the input in parameter X. Only fully completed units are always taken into account (e.g. last full month). The input in the parameters Start date and End date is overwritten. |
Start and end date
The analysis period, if no automatic calculation is to be performed.
Language Key(s)
Prioritizes the language of the description texts. The prioritization is only done, if several language keys are specified. If the field is not filled, the default language is E -> English.
Reporting Currency
For better comparability of results, all relevant values are converted into a consistent reporting currency.
If you evaluate data with different company code currencies and do not specify the reporting currency, EUR is used. When evaluating one company code, the company code currency is used as the reporting currency.
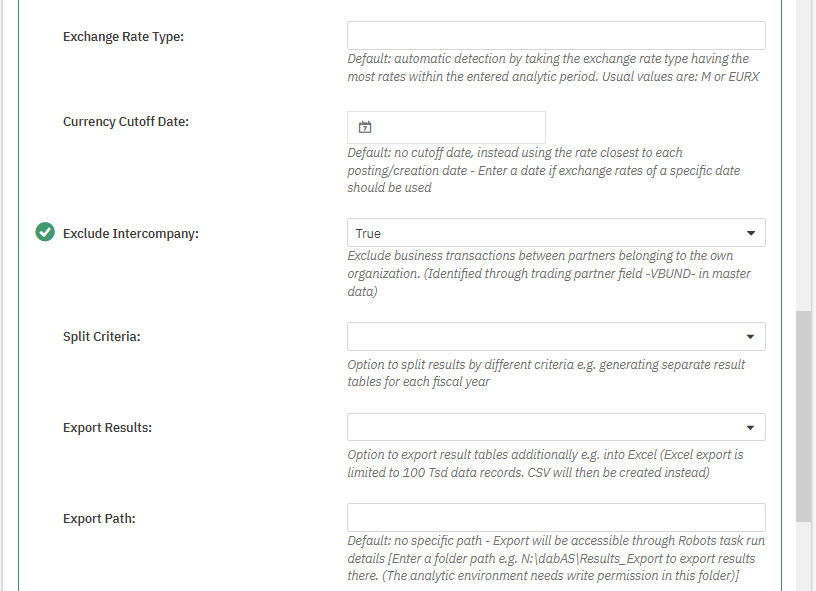
Exchange Rate Type
Defines the currency exchange rate type. Usually the type EURX is used for the translation into EUR. For all other currencies, type M. If no entry is made, type M is used.
Currency Cutoff date
If you fill in a date, the exchange rate valid on this date will be used for the currency conversion. If you leave the field empty, the exchange rate that is valid on the document date will be used.
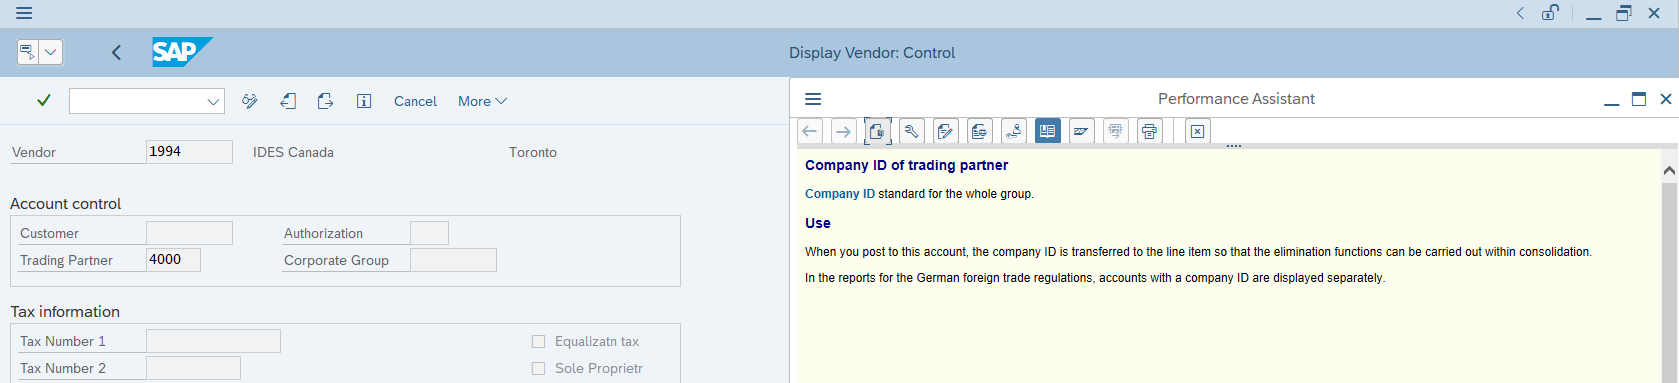
Exclude Intercompany
Partners that are marked as internal in the master data are excluded from the result. The SAP field VBUND partner company number is used for this purpose.
Split Criteria
In addition to the detail table, which contains all the results, the results can be divided into a single table for each company code and/or fiscal year.
Export results
Possibility to export the result tables additionally to a file (Excel or CSV). The Excel export is limited to 100 thousand records per table. A CSV file is then generated instead.
Export Path
If the export is to be made to a specific path, this can be entered here.
Alternatively, the files can be found in the result output of the task execution. The path must be entered as follows: N:\dabAS\Results_Export
The analysis environment or service requires write permissions for this folder.
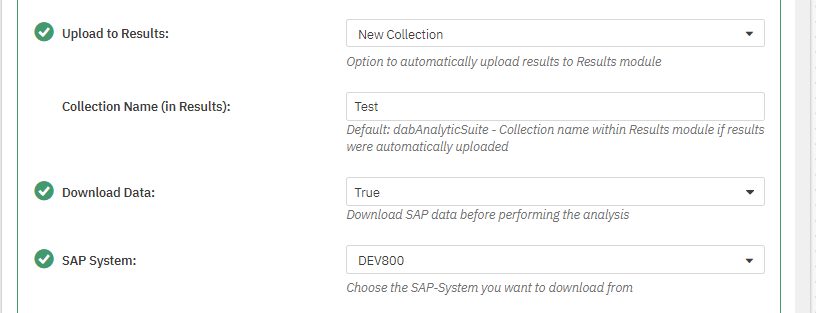
Upload to Results
Option to automatically upload results to the results app.
Which columns should be uploaded from the result can be configured in the TF_Import.xlsx.
Variable | Description |
No Upload | no upload of results to the results app |
New Collection | new collection for this run |
Existing Tables (Append) | Upload results to an existing table as configured in TF_Import.xlsx. In doing so, the existing table remains and is extended by the new entries. Using a primary key, the already existing entries can also be updated. |
Existing Tables (Overwrite) | Upload results to an existing table as configured in TF_Import.xlsx. This will overwrite the existing table. |
Collection Name (in Results)
If the results are to be loaded into the results app, you can assign an individual name for the collection here.
If you do not enter anything, the collection will be named dabAnalyticSuite_[timestamp]. Whether the timestamp should be appended or not can be configured in the script.
Download Data
This determines whether a data download from SAP should also take place with this task or whether the previously downloaded data should be used.
SAP-System
If you have maintained multiple systems, this is where you select the system that is relevant for this run.
SAP User und SAP Password
For logging into the SAP system to export the tables needed for the evaluation. Depending on the implementation, either your own user was authorized for access here, or a separate user was created.
Download Monitor
Option to upload the download status to the results app and log the progress.
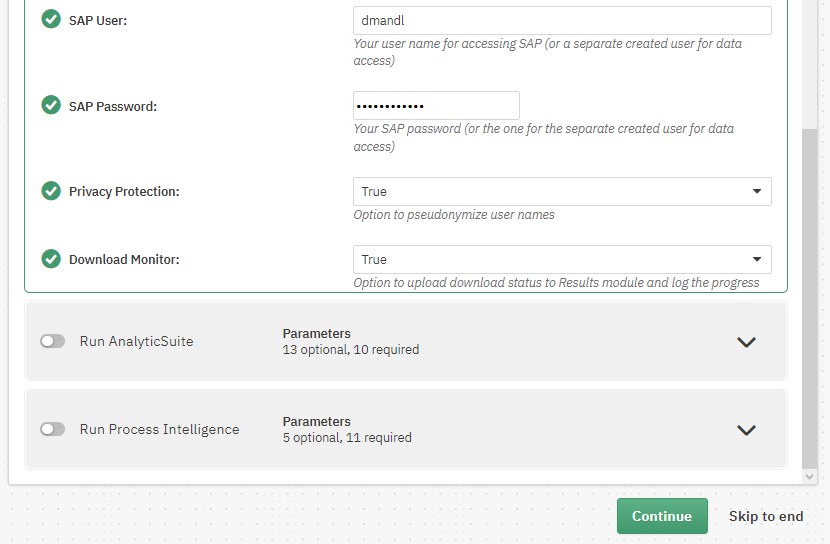
If you decide to run the SAP data download and AnalyticSuite separately, you can run the Download Data startscript. However, in the Run AnalyticSuite startscript, you will then need to re-enter the SAP credentials, Privacy Protection and Download Monitor, and these details will be ignored if you set the Download Data parameter to False.
These parameters are only relevant, if the download is executed in combination with the analysis run or the Download Data parameter is set to True.
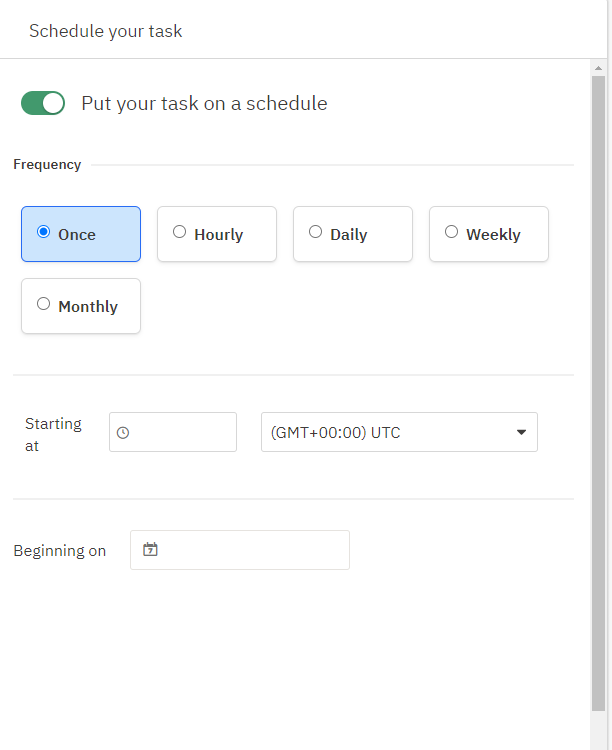
Scheduling Tasks
Next, you can set a schedule. Here you can specify the frequency, time and date from which the task should be performed. It is possible to perform the task once or several times.
Multiple includes:
- Hourly -> every 10 minutes is the shortest possible interval
- Daily -> the input of 1-31 is possible
- Weekly -> an explicit day of the week and the interval between 1 and 12 can be selected.
- Monthly -> a specific day or the last day of a month in an interval between 1-12 can be selected
If you want continuous execution of AnalyticSuite with one of the configurations mentioned under Scheduling Tasks, then use the analysis/download period calculation (Parameter: Date Period Calculation + X).
If you leave the switch deactivated, the task can only be executed manually (more on this below).
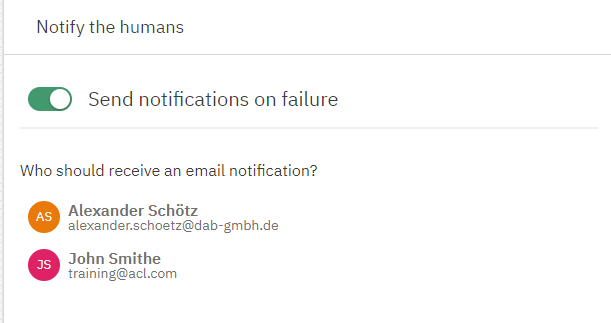
Since a script can contain errors, it is possible to notify a person by clicking Next. Select the person(s) to be contacted by email if the analytic run fails.
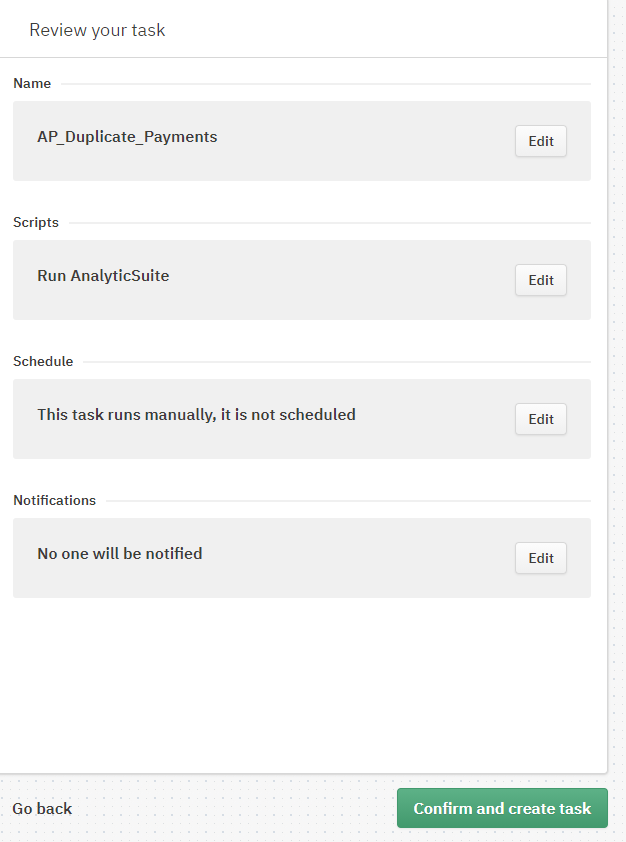
Finally, you have the possibility to check your previous entries again and change them if necessary. If everything fits, press Confirm and create task.
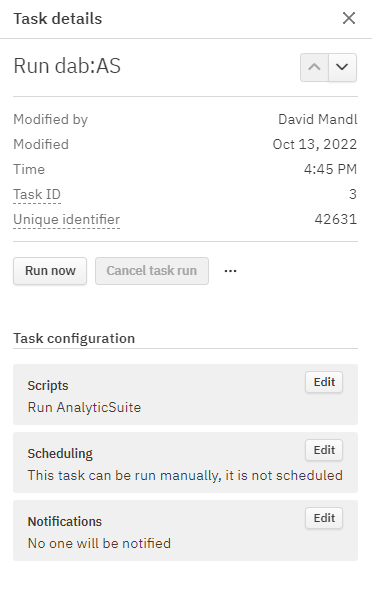
Task Execution
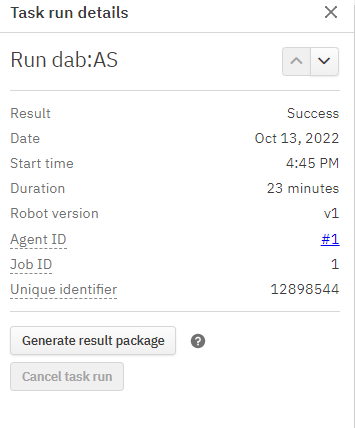
Regardless of whether or not a schedule has been defined, a task can also be executed manually. To do this, please click on the desired task. A window will appear on the right, containing information about the respective task.
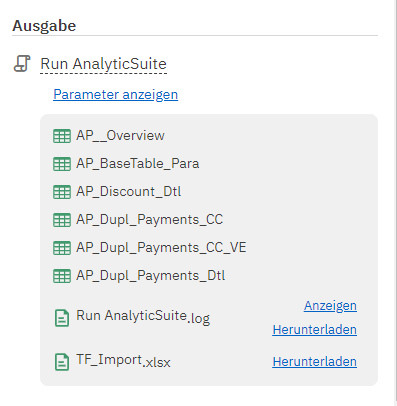
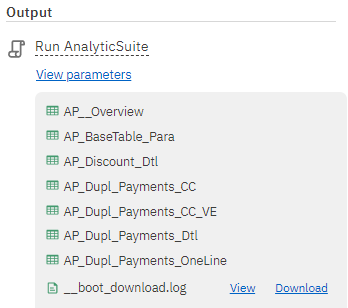
Here you will find a Run now button. Clicking this button changes the status of the Task to In Queue and finally to In progress. It is also possible to cancel the process by clicking on the Cancel task run button. If the execution was successfull, you have the possibility to view the results by clicking on View latest results and to generate and download a result package (ZIP file).

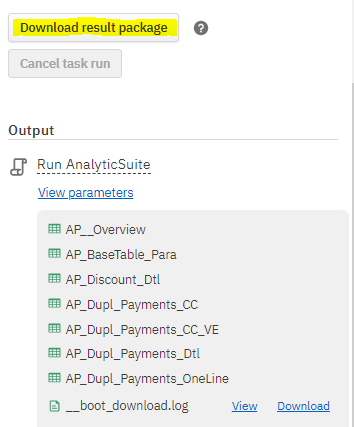
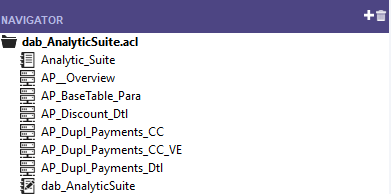
The downloaded ZIP file should first be unzipped before opening it in ACL Analytics. There you will find the result tables again, which were already displayed with the results in the robot. It is possible that you will be asked to enter your Windows password when trying to open one of the tables in ACL.
If the execution fails, you have the possibility to open the log file (has exactly the same name as the robot) by clicking on Show last results. In the log file, you can use Ctrl+F to search for the term failed, or scroll down until you find a red X.